How to root the FP5 and OTA update - at your own risk

Now that we have the first reports split in a few topics I would like to bring all reports together, therefore this topic.

When you root your phone, be aware that this comes with a risk to brick the phone.

Official Magisk instructions can be found here

The FP4 Instructions should be a summary of the official instructions so I will add them here till someone confirms something else. I didnt test so when you try its at your own risk.
I will make this a wiki, so please update, correct as needed.

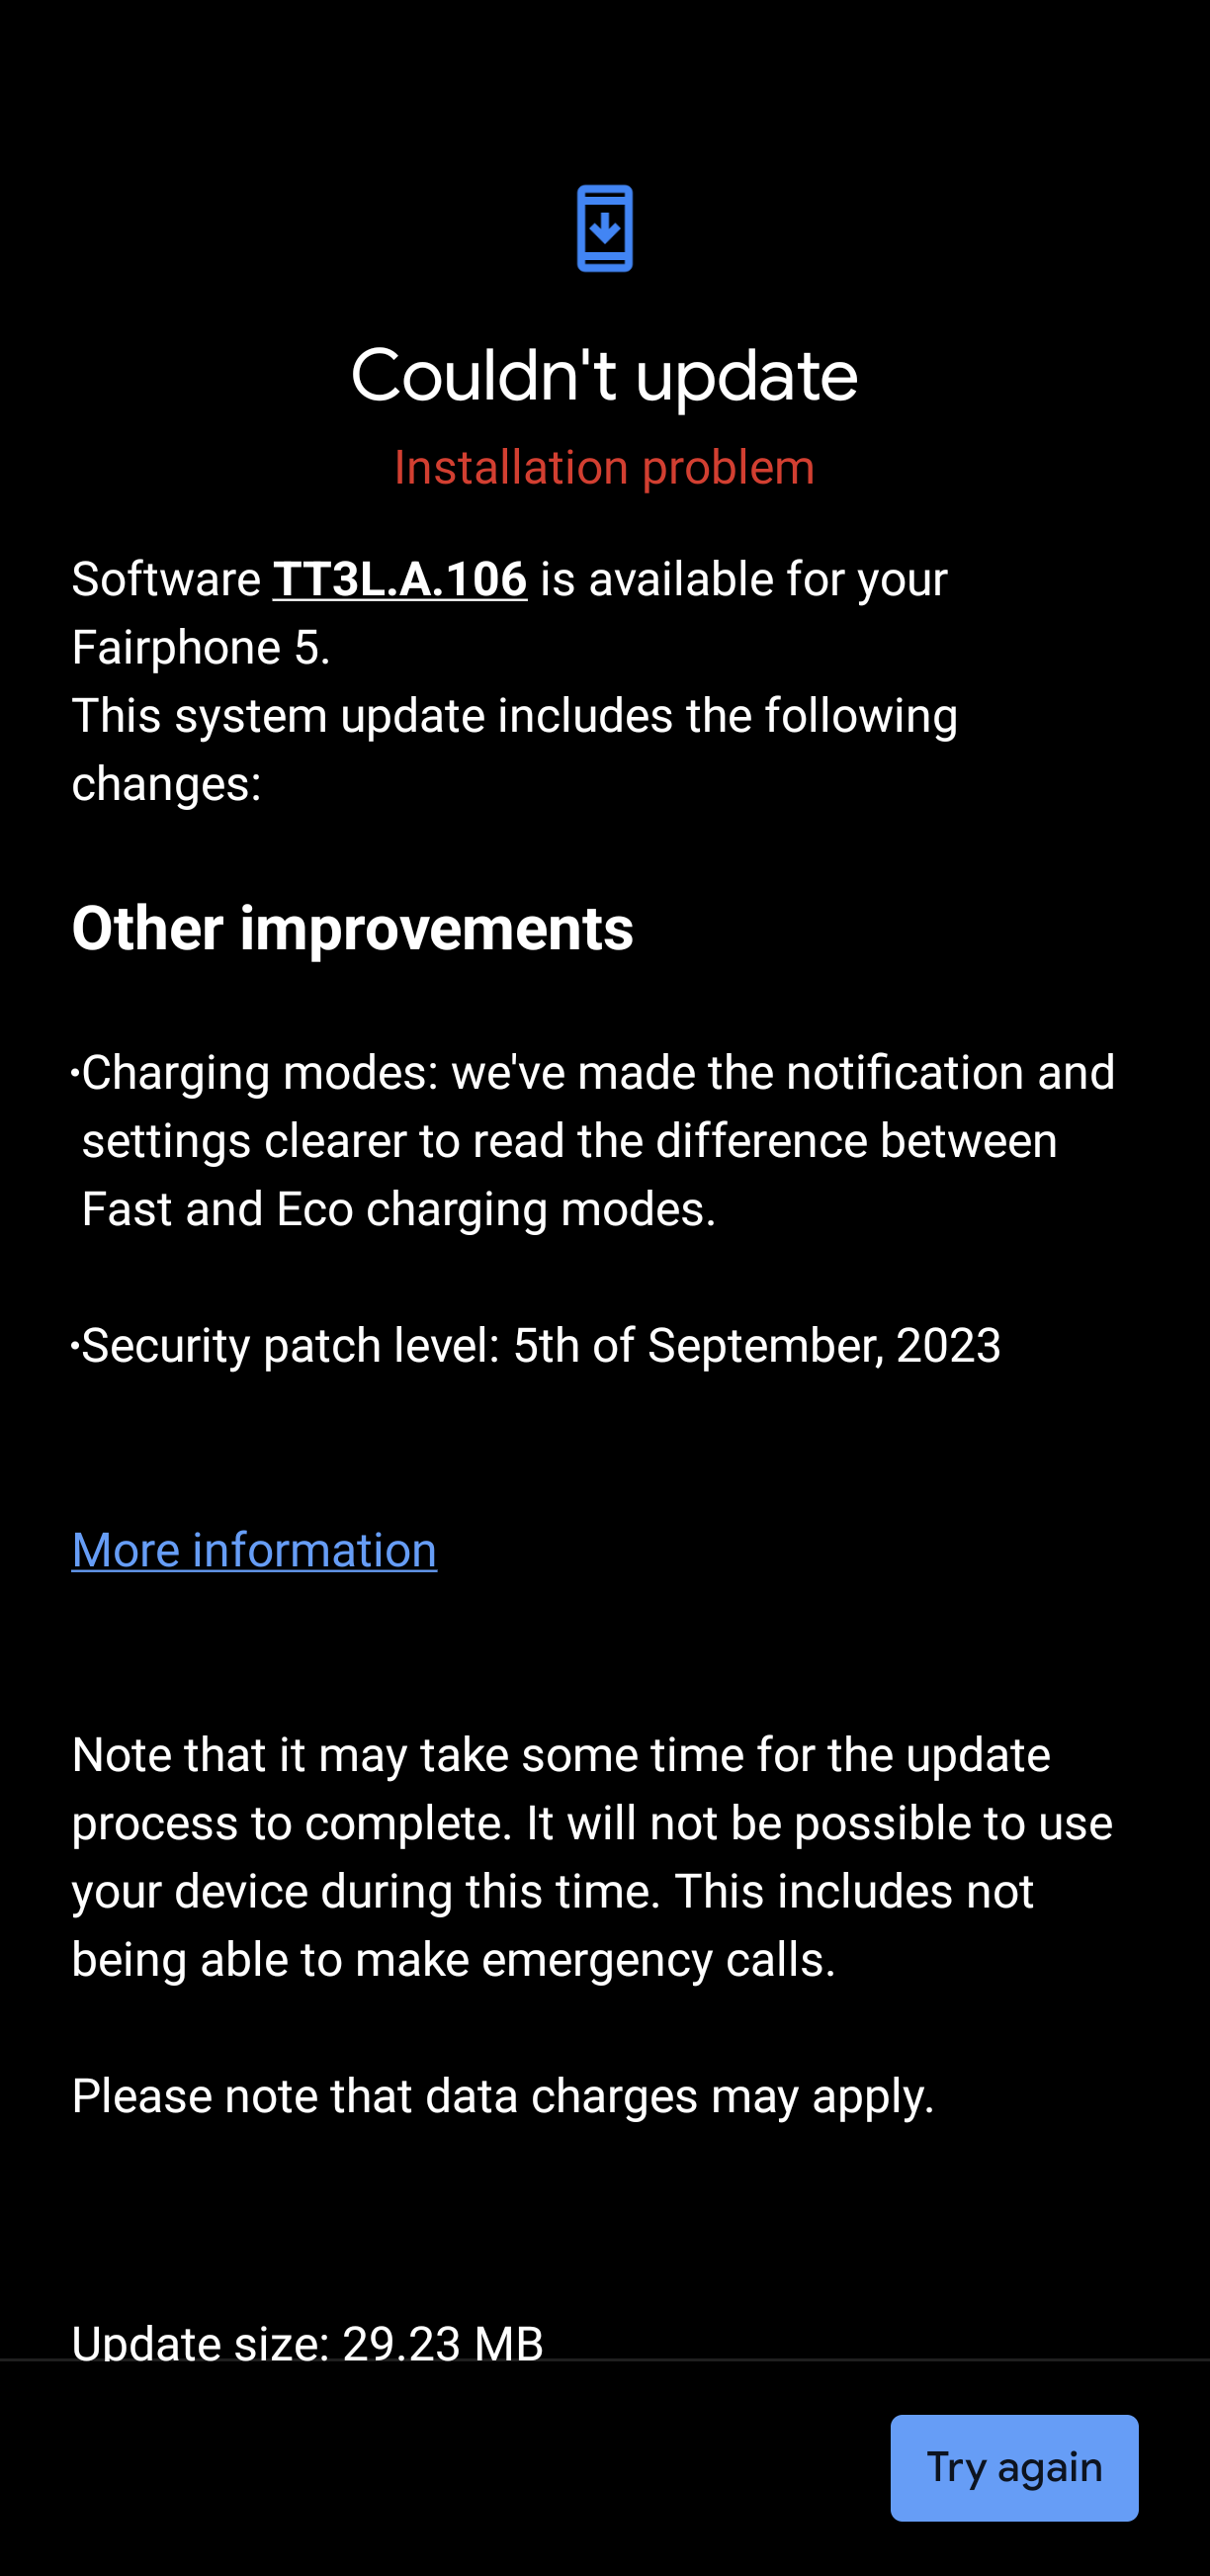
For OTA update with root on a FP5 the following would be expected to work, however for unknown reason might not which then requires re-rooting (see below for further information. In my eyes the patched boot.img should never be flashed!)

  1. In Magisk press :wastebasket:Uninstall Magisk → “Restore Images”
  2. Install OTA-update and don’t reboot
  3. In Magisk select :inbox_tray: Install and choose “Install to Inactive Slot (Atfer OTA)”, reboot and have fun

@Aaanze @llluuuzzziii for further discussion if needed.

German translation can be found here

4 Likes

I keep getting an installation problem every time I try to update. I am on WiFi and charging, could this be because I have the bootloader unlocked?

What Problem exactly?

I don’t know, it simply says “Installation problem”.

Have you rebootet the phone? Do you use anthing blocking internet traffic?

1 Like

I’ve rebooted the phone twice. I use a firewall, but I’ve disabled it before rebooting, made sure it was still disabled afterwards when trying to update again and it gave the same result.

Did you also try from a different network? Like mobile instead of WiFi, or work/friend/etc. instead of (presumably) home?
Can you tell if it actually downloads and then has a problem during installation or if the download does not even start?

After unrooting the phone I was able to update, my apologies. I guess I will wait until more knowledgeable people than I have tested root on the FP5 before trying again.

Have you tried as explained here for the FP4

Thanks for link @yvmuell. I had same problem and tried metnioned approach:

  1. Magisk → Uninstall → Restore images
  2. Install OTA WITHOUT reboot
  3. Magisk → Install → Install to Inactive Slot → click Reboot when done

Unfortunatelly root was lost after restart, so I had to do additional steps from my computer:

  1. adb reboot bootloader
  2. fastboot flash boot magisk_patched-....img
  3. fastboot reboot

But update is done, just more work and restarts :confused:

1 Like

Btw. anyone know where you can currently download stock boot.img? I was lucky enough to root when it was provided directly by Fairphone on https://code.fairphone.com/ but the page with factory image is gone now.

You can see original page at web archive, unfortuantely factory image wasn’t archived. On the bright side, we can see sha256sum there, so you can get image from different sources and verify that it wasn’t tampered with.

Still, it would be great to have back official factory images from Fairphone.

I think the whole factory images can be downloaded here:

Scroll down to “Download the correct file”

Direct link to the Download section:

Extend the FP5 and there the Fastboot variant (OTA seems to be not yet available).

Have to check on a PC, but I assume all the partitions (inckuding Boot.img) should be in the factory zip.

2 Likes

Hello there, I am trying to aplly the OTA as per the official instructions Installation | Magisk
But only the boot.img gets restored with the restore images option under uninstall magisk.

Logcat shows the hash mismatch before the restore images:
[ERROR:verified_source_fd.cc(50)] Unable to open ECC source partition /dev/block/bootdevice/by-name/boot_b: Success (0)

Logcat and then after restore images:
[ERROR:verified_source_fd.cc(50)] Unable to open ECC source partition /dev/block/bootdevice/by-name/vbmeta_b: Invalid argument (22)

I know that the vbmeta image is mismatched, because I patched it as per the official instructions when rooting the phone.
But was that even necessary?

Anyone having the same problem?
Can I just restore vbmeta manually or will that result in a full wipe?

Any advice would be greatly appreciated :blush:

Moved your post here, maybe read above

edit: else maybe some hints in this FP4 topic

Oh, thanks. I hadn’t come across this post when searching. Much appreciated.

Well it looks like everyone else just ignored the vbmeta part of the instructions and could now run the OTA update.

@kepi did you flash a patched vbmeta as per the official instructions or did you omit that part as well?

Never mind, fixed it myself. =D

Here is how I went about it:

Preamble:
First I flashed the boot.img from the FP5-TT3L-factory.zip found here:

Presuming you have the extracted image in the current directory within your shell the command is:
adb reboot-bootloader
fastboot flash boot boot.img
fastboot reboot

If you, like me spaced out at 2 in the morning and somehow accidentally flashed the wrong boot.img from the newer OTA FP5-TT3G-factory.zip and magisk complains, that there is no Backup to restore, when trying to use “Uninstall Magisk” and “Restore Images” just follow this instruction:
https://asheroto.medium.com/magisk-manager-stock-backup-does-not-exist-dd1a13e6fa92
and make sure to use the proper boot.img from your currently installed OS version.

Afterward, I backed everything up to my SD card and also an external device, since I wasn’t sure that reflashing vbmeta.img wouldn’t somehow initialize a factory reset and wipe /data.
Better safe than sorry.

Now comes the actual fix that restored my ability to upgrade via OTA:
Extract the vbmeta.img from the aforementioned zip of your currently installed version and place it in your working directory.

adb reboot-bootloader
fastboot flash vbmeta vbmeta.img
fastboot reboot

Feel free to ask, if you have trouble as well. I am happy to help =)

Addendum
Looks like I was too quick with my write up, the OTA process checks the Hashes of the boot.img thrice.
Once while downloading and applying the update. (This is fixed with “Uninstall Magisk” and “Restore Images”)
A second time while optimizing the system before reboot. (The previous fix still applies)
And third time when rebooting the device.

So if you flashed to inactive slot (After OTA) the OTA will still fail. =/

I now got the OTA to work with basically stock everything, except for the unlocked bootloader, which means loosing magisk for every OTA as of now and reflashing the patched image via fastboot every time.

2 Likes

Ok, I had been too fast and didn’t check correct system version. After couple hours, I got popup with OTA update again, so my prevous fix didn’t work.

Fortunately with correct boot.img it is even easier (now verified :blush:). You simply reboot after OTA and then flash patched boot image.

  1. Magisk → Uninstall → Restore images
  2. Install OTA and reboot
  3. Install Magisk again

If you have patched boot image you used for original root, you can use it here, so it is as easy as connecting phone to your computer and do:

  1. adb reboot bootloader
  2. fastboot flash boot magisk_patched-....img
  3. fastboot reboot

@yvmuell can you please update top post to reflect this?

BTW, I tried method with installing to inactive slot from Magisk multiple times with small variances in approaches and it never worked. If anybody has simpler approach, please share it.

Does using an “old” boot.img in a new OTA really make sense? :smiley:

I think we’ll have to wait until Fairphone provides OTA zips. These can be installed in recovery and then the Magisk survival script also works!? Until then, it’s probably easiest to flash the latest factory image (with patched boot.img) with the flash script and turn off checksum and data wipe in the flash script beforehand.
:person_raising_hand:

That’s basically what I did, without my long explanation around it.
But this doesn’t solve the problem that you still need a PC after each OTA.
Because you technically unroot your phone every time doing this.

:face_with_diagonal_mouth:

Which is a real bummer, because in my eyes that’s literally not the point of “Over the air”.

But I feel like we are missing something here with ignoring vbmeta, because as I understand it from the documentation, executing the following flash with the “–disable-verity --disable-verification” flags set should force the phone to ignore the hash mismatch:

fastboot flash vbmeta --disable-verity --disable-verification vbmeta.img

https://android.googlesource.com/platform/external/avb/+/main/README.md#what-is-it

But somehow the hashes are still checked and OTA update process throws out errors.