This is a Wiki Post, so feel free to contribute by editing this post using the green pencil symbol in the top right corner.
 This #wiki was not updated in a long time, although it might appear quite fresh as it was just moved from the Android 5 category to the Android 6 category. If you update the wiki to better reflect how it works on Android 6, please remove this paragraph and the warning in the title.
 If you just want to have root-access on your phone and don’t mind not having Google Apps & Services preinstalled simply download and install FP Open OS. To enable root on FP Open OS, go to
 Settings → About phone, and tap on the Build number a few times to enable developer mode. Then, at the bottom of Settings you will have a new button Developer options, under which you can enable root.
Finally I figured out how to easily root a Fairphone 2 with Superuser. This should work for the stock firmware as well as with a self-built AOSP.
Thanks to all the hardworking Open Source developers on the internet this was finally easier than expected. 
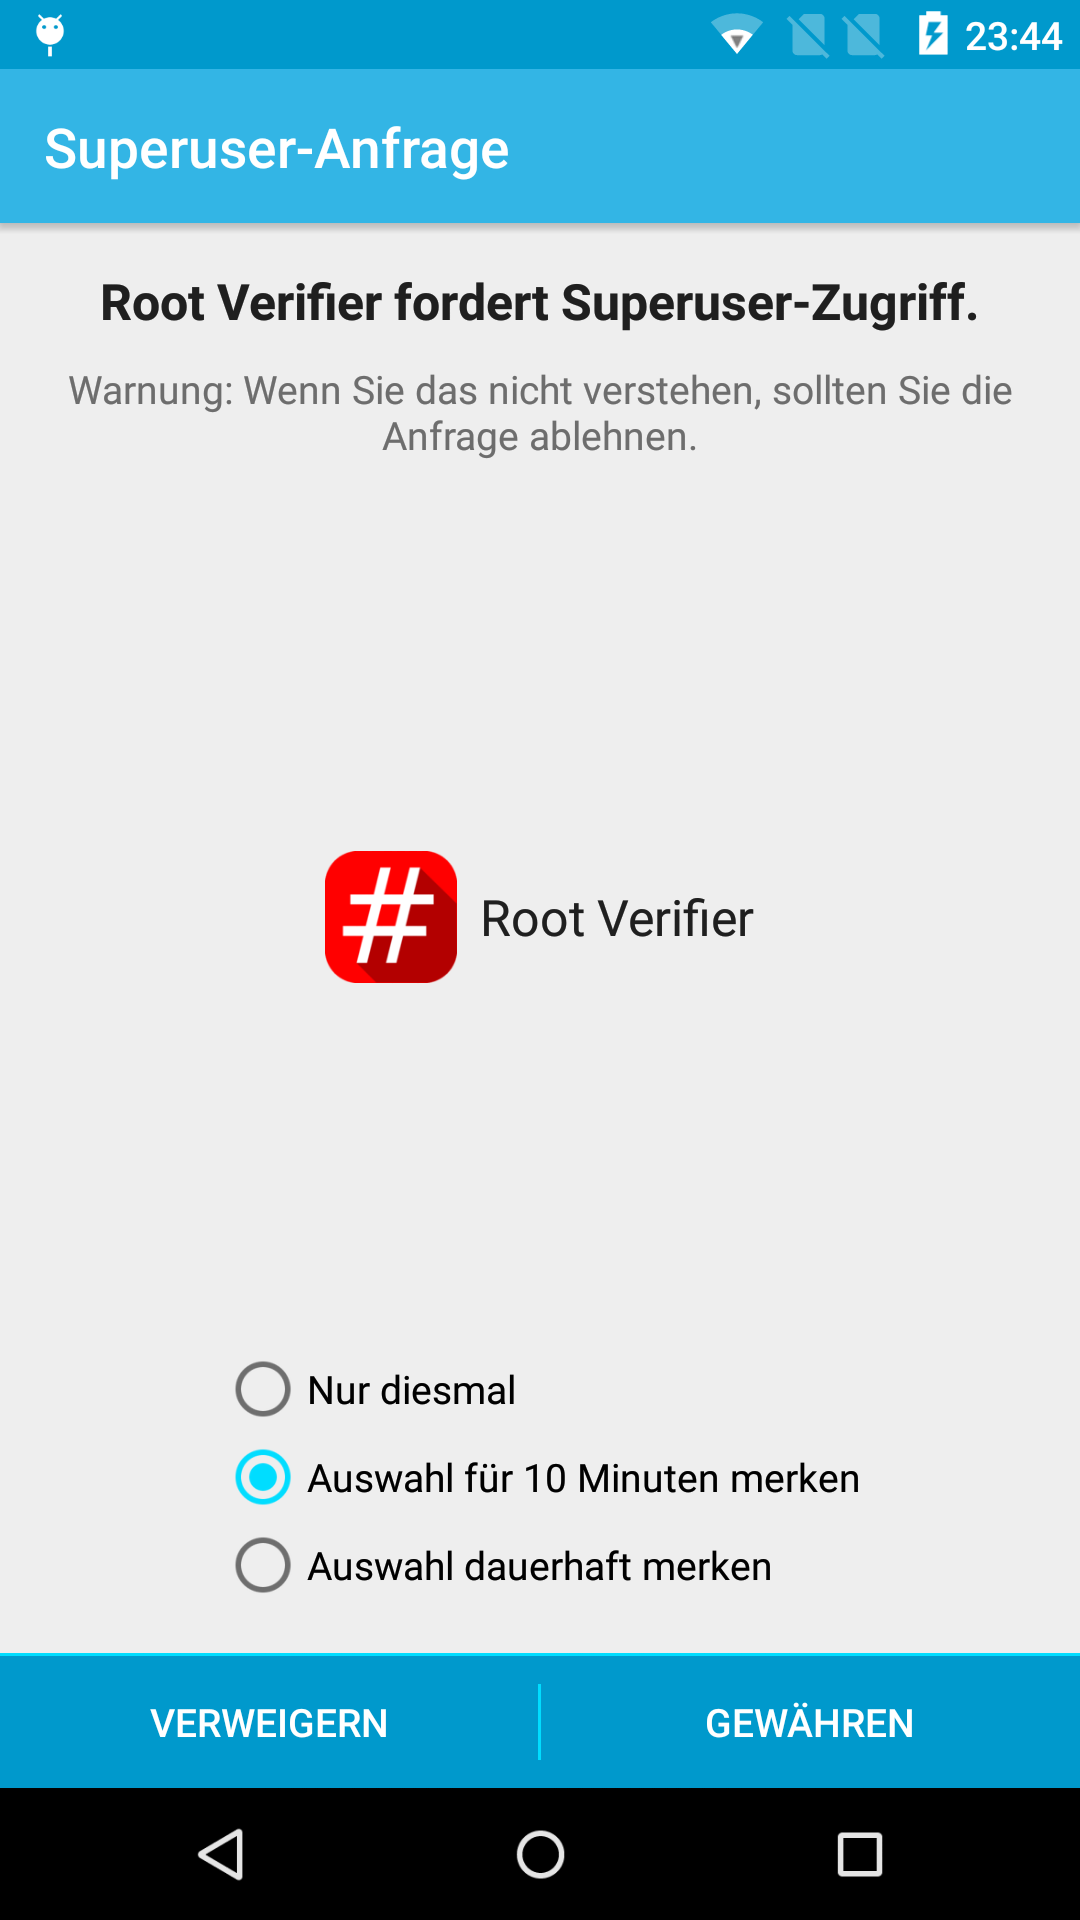
Superuser
Superuser is an Open Source alternative to SuperSU. It was started by a developer named koush and is now continued by phhusson. If you had/have a FP1 and you see it, you will recognize 
Maybe some people don’t care, but I think it’s important to have an open-source solution here. It controls deep access rights on your phone where private and maybe sensitive data is stored. I don’t like the idea that a company has the possibility to take control over that. Here and here is some more information pointing out the importance of Open Source in root and Superuser.
Rooting the phone
Superuser can be installed in different ways. I think the easiest (but maybe not the safest) one is to modify the boot.img. It doesn’t require to compile anything and it works with stock firmware as well as with a custom or self-built image.
There is a project called super-bootimg on github which is creating scripts to modify the boot.img of various devices. It downloads the firmware, extracts the boot.img, unpacks the image, adds the su binary, modifies some config files and repacks the image again. And especially modifies the SELinux policies. The modified boot.img must then be flashed on the phone.
phhusson provides a site with nightly builds for all the known devices.
- Hint: “rooting” doesn’t affect your data in any way!
Tutorial: How to root your phone with superuser
So here we go:
1. A) Build your own boot.img
read on...
Note: For the following steps you’ll need the version number of the FPOS-Version you want to root (e.g. 1.6.2). Replace fp2_X.Y.Z below with this number, like fp2_1.6.2
Clone or download the project:
$ git clone https://github.com/phhusson/super-bootimg.git
Go into the directory
$ cd super-bootimg
Call the download script (if the command sh does not work, try bash instead in the following steps):
$ bash download.sh known-imgs/fairphone/fp2/fp2_X.Y.Z
People who want to use it with their own image, just copy the boot.img to super-bootimg/output/fairphone/fp2/fp2_X.Y.Z/orig-boot.img instead of calling the download script.
Modify the downloaded boot.img:
$ bash build.sh fairphone/fp2
As an alternative you can also make them executable and call them directly (thanks @retsifp for the hint):
$ chmod +x *.sh
$ ./download.sh known-imgs/fairphone/fp2/fp2_X.Y.Z
$ ./build.sh fairphone/fp2
This produces a lot of output. Also there are some error messages like “source type su does not exist: 0,618”. For me it was working anyway. So it shouldn’t matter.
The script created four modified versions of the boot.img in super-bootimg/output/fairphone/fp2/fp2_X.Y.Z:
-rw-r--r-- 1 root root  14M Aug 23 20:36 boot-fp2-fp2_X.Y.Z-su-eng-r236.img
-rw-r--r-- 1 root root  14M Aug 23 20:36 boot-fp2-fp2_X.Y.Z-su-nocrypt-r236.img
-rw-r--r-- 1 root root  14M Aug 23 20:36 boot-fp2-fp2_X.Y.Z-su-noverity-r236.img
-rw-r--r-- 1 root root  14M Aug 23 20:36 boot-fp2-fp2_X.Y.Z-su-user-r236.img
-rw-r--r-- 1 root root  14M Aug 23 20:21 orig-boot.img
You can find details about the versions here. For me the eng version works best, because it gives the most rights (similar to SuperSU).
If you want to compare your self built boot.img with the original, see the annex the bottom of this Wiki.
1. B) Or download boot.img
read on...
Alternatively of building your own boot.img, you can also download a build from Pierre-Hughes Husson’s build robot (there were no blobs in the image, only files under the Apache2 license):
https://superuser.phh.me/fairphone/fp2/ (Warning: Do not use at the moment, see here)
Alternative host: https://fp2.retsifp.de (Hosted by forum-user @retsifp)
Explanations about different versions are explained here.
The eng-version works best, because it gives the most rights (similar to SuperSU).
If you want to continue with an easy way and a Windows-PC - go to step 2.B)
2. A) Flash a new boot.img to your FP2 - on Linux / OSX
read on...
Before you go on flashing read this:
As always with that kind of stuff, do this only if you know what you are doing and be careful. It’s possible that phone gets bricked. I didn’t try all the versions and I did most of the testing with a self-built Android. I only tried with stock firmware once.
For OSX: Install ADB and Fastboot as described here
Start the phone in bootloader mode/fastboot mode (adb reboot bootloader). Read here for more details.
Make sure, you still have connection to the phone by entering:
$ fastboot devices
First, go the directory where the new boot.img is.
If you built it yourself, go to
$ cd output/fairphone/fp2/fp2_X.Y.Z
and select the img you want to flash. Note that your file name (no. at the end) may be different then here in the tutorial.
Now flash the boot.img you want to the phone (you may need sudo for fastboot to work):
$ fastboot flash boot boot-fp2-fp2_X.Y.Z-su-....img
Reboot the phone:
$ fastboot reboot
2. B) Flash a downloaded boot.img to your FP2 on a Windows PC
read on...
Before you go on flashing read this:
Flashing your phone can be dangerous and things can go wrong. So only do this if you are sure you want to. No one can guarantee that the described steps will work on your phone and you will be the only person responsible if things go wrong
After step 1.B) you should have downloaded the boot image of your choice.
Recommendation: save/copy it to drive C:\.
In order to make sure everything runs smoothly, run all the installers and tools as administrator.
(a) First of all we need to enable USB Debugging. To do this, on your FP2 go to:
Settings > About this Device
and tap the build-version entry repeatedly (about 7-10 times).
Then go one step back and you will see a new secton called “Developer Tools”. Tap it and toggle the switch of the “USB Debugging Option” to “on”.
(b) Next you need to connect your FP2 via a USB-cable to your PC and install the proper ADB-drivers.
Download the automated installer driver package from http://adbdriver.com/downloads/ and make sure your FP2 is connected before running the installation, so that it can be recognized and the proper drivers installed.
NOTE: If you are running Windows 8 or 10, the driver installation will fail, since it won’t accept unsigned drivers by default. In this case, please follow the instructions here to install the drivers anyway: http://adbdriver.com/documentation/how-to-install-adb-driver-on-windows-8-10-x64.html (this should be done before launching adb; when launching adb, you will see “driver incorrectly”: click install anyway and yes to windows warning)
© Next you will need the tools for flashing the image to your FP2. These are ADB and Fastboot.
Download the latest package of Minimal ADB and Fastboot from the website: http://androidmtk.com/download-minimal-adb-and-fastboot-tool and instal them. It’s quite handy to put a shortcut on your desktop, so in the installer I recommend to check that box.
(d) After everything is installed, we are now ready to flash the new image.
First of all to make things easy, copy the downloaded .img file directly to your C:\ drive. The name of the image depends on the variant of the image that you downloaded.
Start up your minimal ADB and Fastboot by double clicking the shortcut on your desktop. A command promt will appear. Your FP2 should be switched on and connected via USB.
First we will start the FP2 into Fastboot mode by entering:
> adb reboot bootloader
Make sure, you still have connection to the phone by entering:
> fastboot devices
If you have not, see https://forum.fairphone.com/t/adb-on-the-fairphone-2-windows-driver/11529/15
If your phone displays a prompt to authorize your PC to connect via ADB, allow it. Your phone should reboot but instead of starting normally it will just display the black Fairphone logo.
Next we will flash the image to the FP2 by typing:
> fastboot flash boot c:\boot-fp2-fp2_X.Y.Z-su-....img
If you downloaded any of the other variants of the image or you did not copy it to c:\ then obviously you will have to adjust the path and the name in this command.
Wait for a few moments until the command completes and you see the output without any errors. If everything went fine, it should look something like this:
>C:\Program Files (x86)\Minimal ADB and Fastboot
>fastboot flash boot c:\boot-fp2-fp2_X.Y.Z-su-....img
target reported max download size of 536870912 bytes
sending 'boot' (15211 KB)...
OKAY [  0.513s]
writing 'boot'...
OKAY [  0.168s]
finished. total time: 0.685s
At last we will restart our FP2 by typing:
> fastboot reboot
Your phone should start normally and flashing is complete.
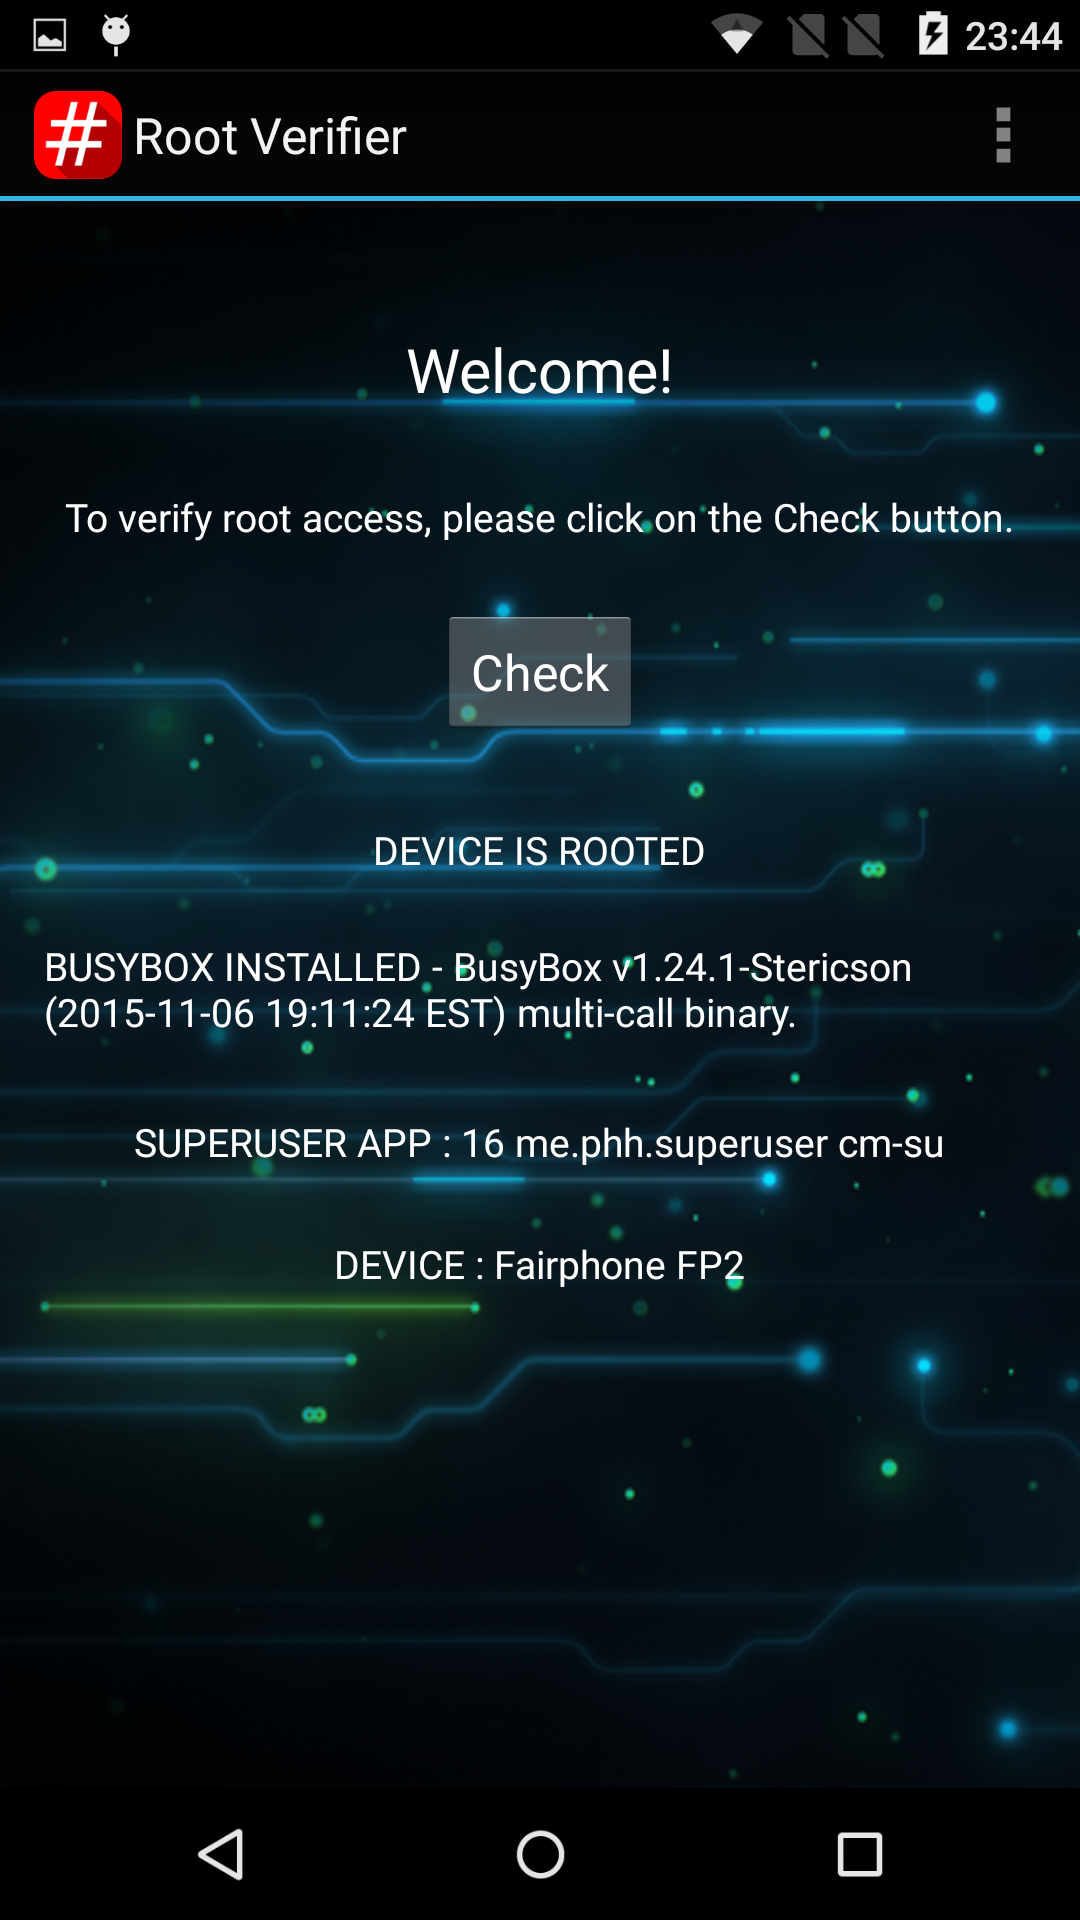
3.) Install a root manager on your phone
read on...
Now you only need to install the corresponding APK (from F-Droid) for management.
If the su binary in boot.img gets outdated, this might get incompatible. I’ve added the current version to the repository to have a backup.
Annex: Checking modified boot.img
read on...
For those of you who want to check the modified boot.img before flashing or just for interest, this is how I did that.
$ mkdir temp
$ cd temp/
$ ../scripts/bin/bootimg-extract ../output/fairphone/fp2/fp2_X.Y.Z/boot-fp2-fp2_X.Y.Z-su-....img
$ gunzip -c < ramdisk.gz | cpio -i
This extracts the contents of the ramdisk into the temp folder. E.g. you can also do that for the original image in another folder, than you can use diff to compare them.
$ diff -r folder1 folder2
Example output:
> Only in temp2: boot-fp2-fp2_X.Y.Z-su-....img
diff: temp/charger: No such file or directory
diff: temp2/charger: No such file or directory
diff -r temp/init.rc temp2/init.rc
32a33
>     chmod 0755 /sbin
598a600
>     disabled
641a644,647
> service su /sbin/su --daemon
>     class main
>     seclabel u:r:su_daemon:s0
>

Only in temp: orig-boot.img
Binary files temp/ramdisk.gz and temp2/ramdisk.gz differ
Only in temp2/sbin: su
Only in temp: secure
Binary files temp/sepolicy and temp2/sepolicy differ
Only in temp2: super-bootimg
Fixes you can do with a rooted phone:
Make the SDcard writable
read on...
There are two possibilities here, either by installing an app on the rooted phone or by modifying files on the phone.
SDwrite-1) Make the SDcard writable by installing an additional app
This will only work if your phone is already rooted. It should only be done, if you trust the app and if you are sure that you know what you are doing. This only needs to be done once, i.e. the write-permissions are kept even if the phone reboots.
Downlaod, install and run NextApp (SDFix KitKat Writable SD). The app guides you through the different steps. Afterwards you have to reboot, after which it is possible for all apps to use the SDcard.
SDwrite-2) Make the SDcard writable by modifying files on your phone
- download the file from your phone
$ adb pull /system/etc/permissions/platform.xml
-
open the file you just downloaded with your favorite text editor and change
to
 <permission name="android.permission.WRITE_EXTERNAL_STORAGE" >
    <group gid="sdcard_r" />
    <group gid="sdcard_rw" />
    <group gid="media_rw" />
</permission>
(i.e., that is adding one line).
- You have to remount the
/systempartition (maybe someone knows a quicker way; though I think on the stock ROM you have to shell into the phone to get su rights. I may be wrong here, please correct me if I am!)
$ adb shell
This will open the shell (terminal/console) on your phone.
_shell@FP2:$ su
_root@FP2:# mount -o rw,remount /system
_root@FP2:# exit
- Upload the file edited file to your FP2:
$ adb push platform.xml /system/etc/permissions/platform.xml
A quicker alternative is: (EDIT : you need to install busybox to be able to use vi)
$ adb shell
_shell@FP2:$ su
_root@FP2:# mount -o rw,remount /system
_root@FP2:# vi /system/etc/permissions/platform.xml
edit the file as suggested above
and exit vi
:x
and exit su & shell:
_root@FP2:# exit
_shell@FP2:$ exit