Hi,
I’m using Ubuntu and used the following tutorial to have adb and fastboot up and running in my Ubuntu box. Maybe you want to link it in the wiki or post it as further related info:
LINK
@rootboi: If you wish to update your guide, the version of FP OOS has changed (and with it the link) and also the flash files are now called flash-for-mac.command, flash-for-unix.sh and flash-for-windows.bat. Thanks for writing it!
Fixed and refactored.
Added deprecation notice.
Further refactoring.
Completely restructured. Removed redundancies and introduced Chapter numbers for better clarity.
Updated the installation instructions for adb and fastboot according to this post.
2 Likes
A very helpful note. Thanks.
Two questions:
-
Do I really have to use sudo (or switch to root) when I do things with fastboot under debian? Some people say it isn’t necessary (a normal user can be used) and e.g. this documentation https://code.fairphone.com/projects/fp-osos/user/fairphone-open-source-os-installation-instructions.html does not say anything about it as well. Just e.g.
sh flash-for-unix.sh
to flash the os manually. But there is nothing about the user which has to be used (and what has to be done that it works).
For me without using the root user my fp2 will not be found after typingfastboot device -
Is there a way to exclude the recovery when flashing manually? I prefer to encrypt my phone, so I have to use the latest TWRP (currently 3.1.1-0 - to decrypt and create backups etc. …). The TWRP which comes with Fairphone Open is a different (older one) one so I have so I have to reflash a working TWRP each time after an update. Editing the flash script in advance and remove the line which flashs the recovery will lead to an validation error (probably because the checksum of the script will be changed after saving the script when it was modified).
If fastboot devices doesn’t find a device but sudo fastboot devices does then the answer to your question should be clear, shouldn’t it?  What prevents you from using
 sudo?
There is a way to not overwrite a manually flashed TWRP (I do it myself) and I will write a howto later in this thread or maybe add it to the wiki. It’s late tonight and I would make too many mistakes, I guess.
Created a new topic for this.
Thanks for the new HOWTO/Wiki article. I will use it for the next update.
Regarding using fastboot with a “normal” non-root user:
Of course if using root is the only way how fastboot works, I will use it (and I did so up to now), but I just heard/read something different and I think root should only be used if there is no other way (especially for inexperienced users).
Eventually this is what I was looking for: https://forum.xda-developers.com/android/software/guide-installing-adb-fastboot-linux-adb-t3478678
Especially this part:
By now you Linux installation already has ADB and Drivers install
but now you need to configure it to detect the Various different types
of Hardware Vendor ID’s. So do the following:
Create or Open the rules for 51-android.rules
sudo gedit /etc/udev/rules.d/51-android.rules
If this is the first time you have added any udev rules the file will
be empty as gedit will have just created it for you. Go ahead and add
in the following. If you already had 51-android.rules it will open it.
With 51-android.rules open just insert the following Vendor ID’s"
for your linux distro to be able to detect the device in adb
# udev rule to detect android devices
# These rules refer to http://developer.android.com/tools/device.html
# Fairphone
SUBSYSTEM=="usb", ATTR{idVendor}=="2ae5", MODE="0666", GROUP="plugdev"
Save and exit when done editing.
Change the permission of this file by executing the following command as root:
Code:
chmod a+r /etc/udev/rules.d/51-android.rules
Reload the rules by executing the following command as root:
Code:
udevadm control --reload-rules
Add in the user group “plugdev” for the rules we just created.
Code:
sudo addgroup --system plugdev
And add your username to that group.
Replace with your primary username that will use ADB without the <> around it.
sudo adduser <username> plugdev
Ok most of the things are about adb, but I will check if this will have any effect regarding fastboot execution under normal user.
Don’t know what version of Linux you are using but in Ubuntu 16.04 sudo gedit /etc/udev/rules.d/51-android.rules is going to throw up errors and won’t let you save and exit after editing.
You can try to use nano instead of gedit since I don’t know if using graphical applications as root is a good idea…
About using sudo from a terminal vs creating a udev rule I guess it’s mostly a matter of convenience in the latter case. I might add the udev rule myself and see how it works.
The answer is actually quite simple: fastboot needs the permission to access the fairphone device.
Using sudo will work in most cases because root has all permissions by default. But you can also use your normal user account, if it has permissions to access the device.
On many (but not all) Linux distributions this is done via udev using the “plugdev” user group.
To see whether your normal user is in the “plugdev” group, type:
groups
and check if the output list contains “plugdev”. If not, you need to add user user to the groups as described above (“adduser plugdev”).
To see whether your normal user can access the fairphone device, you should first identify which USB device is used by the phone:
lsusb
That gives a list of all attached USB devices. Example:
~$ lsusb
Bus 001 Device 001: ID 1d6b:0002 Linux Foundation 2.0 root hub
Bus 003 Device 001: ID 1d6b:0003 Linux Foundation 3.0 root hub
Bus 002 Device 006: ID 2ae5:f003
Bus 002 Device 001: ID 1d6b:0002 Linux Foundation 2.0 root hub
[…]
With the extra knowledge that Fairphone has the USB vendor ID “2ae5”, I found my Fairphone as device 006 on USB bus 002.
Now simply check the permissions of the device in the fliesystem with:
ls -l
In my case:
~$ ls -l /dev/bus/usb/002/006
crw-rw----+ 1 root plugdev 189, 133 Sep 30 18:13 /dev/bus/usb/002/006
The output tells me that the device is owned by user “root” with "r"ead and "w"rite permissions and by group “plugdev” also with “r"ead and “w"rite permissions. Other users have no access (”-”). So root and all users in the “plugdev” groups should be able to access the device.
That did not work out of the box on my system, but I had to add a udev rule as already described above.
As root user, I created the file
/etc/udev/rules.d/adb.rules
with the following content:
ACTION==“add”, SUBSYSTEM==“usb”, ATTRS{idVendor}==“2ae5”, MODE:=“0660”, GROUP:=“plugdev”
Because the file needs to be created and edited as root user, a text mode editor like nano or vim may be simpler to use with sudo.
4 Likes
Thanks a lot @random for these additional information. Very well described.
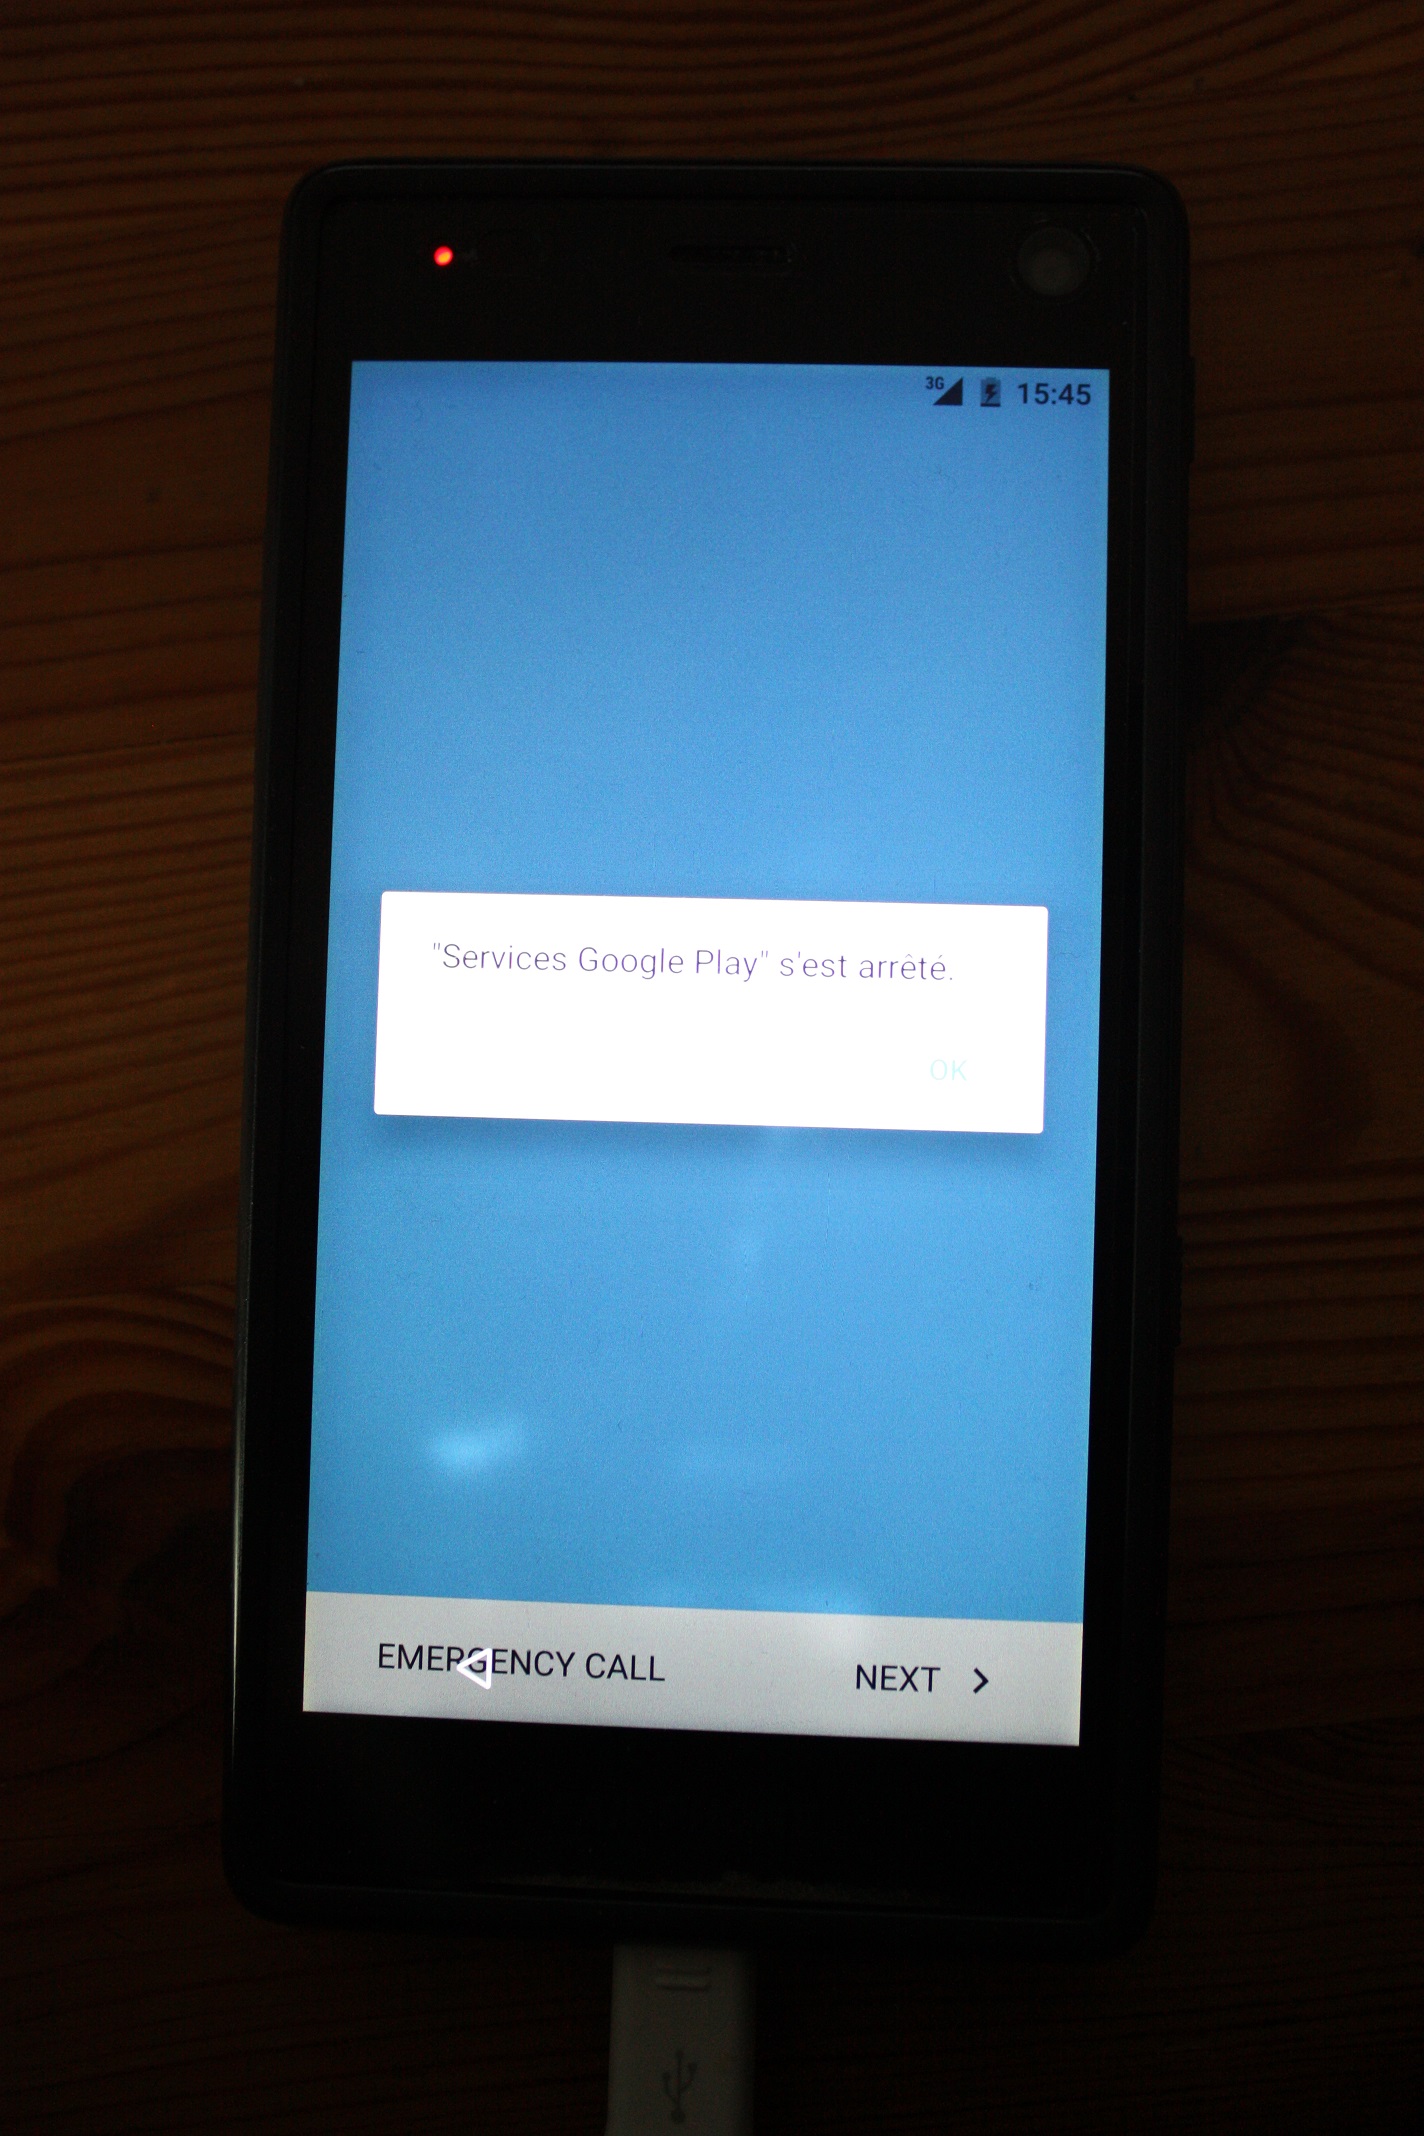
Hi there,
thanks for the tutorial. I tried it and it seemed to work and I’m now stuck on a blue screen with “emergency calls” and “next” at the bottom and notification from services stopped.
Here are some details:
- I had a rooted OS, from back in February 2016 (followed that old tutorial “https://forum.fairphone.com/t/pencil2-howto-root-with-superuser-for-fp-os-with-gms/12375”).
- I downloaded the latest package (fp2-sibon-17.10.2-manual-userdebug.zip)
- I run windows 8.1
- I followed the steps described, except the steps
3.2 "Check connectivity to your phone by issuing adb devices from a terminal or the Command Prompt. This should display your device’s serial number together with the word device. Reboot the phone to Fastboot mode by issuing adb reboot bootloaderandChange into the directory where the package is downloadedas it seemed unnecessary and i didnt know how to perform that. - I ran “flash-for-windows.bat” from the explorer
- It told me “successful” and rebooted the FP2
- After that, it “optimised” while booting: good. After giving my PIN, it’s stuck on a blue screen, and many services stop (eg “google services”, and many formerly apps).
It seems that it wasnt a clean install (as i can see notifications from older services). Can anyone help? Is this issue known? Thanks for your support!!
Nicolas.
Hi,
I have performed again these steps and i have the same result (except i dont see any optimization after reboot)…
how could i make sure to have a clean install?
Should i install other softwares?
Should i use a completely another method?
Thanks for your input…I am stressed to have a brick…

1 Like
Thanks @AnotherElk for your quick reply. I can reboot in TWRP mode but cant run any app, therefore cant download the OTA package. I’ll try a detour: download it on my computer, transfer it to the microSD and run TWRP, wipe all (excep microsd) and install. That should do the trick?
Thanks again, I’ll keep you posted!
1 Like
@AnotherElk, should i install the “OTA” OR “manual installation” package with TWRP? And should i unzip the downloaded file or not?
The OTA if you install via TWRP.
Do not unzip it.
1 Like
Thanks @_Chris for your help! I’ll go with that!
1 Like
I followed the simple steps, the install displayed “done” and when i pressed “reboot”, it said No OS installed! Are you sure you wish to power off?
That’s scary! Should i reboot?..
I went through the TWRP procedure again and had the same message…I spiwed to reboot and it seemed to work! Thanks guys!!!
1 Like
I can’t install Fairphone Open with these steps. The script output is the following:
** Fairphone Open 18.03.1 Manual Flashing Script **

WARNING: Flashing this image wipes all user data and settings on the phone.

Validating files...
Validation complete.
ERROR: Unable to create a plug-in (e00002be)

WARNING: No Fairphone 2 found in fastboot mode.
WARNING: Make sure that a Fairphone 2 is connected.
WARNING: To check for devices, type './bin-darwin/fastboot devices'.

Do you want to look for a Fairphone 2 again? [(Y)es/(n)o]:
I have prepared the script with the following steps:
- Enabling developer options
- OEM unlock
- Enable USB-Debugging
I’m using macOS High Sierra with the newest Android Studio and included Android SDK.