I recently purchased a used fairphone 2 in great condition, but since it was the pre-camera-upgrade model, I decided to buy the upgrades for both cameras.
As with everything I have ever bought, there just had to be a problem… As I was about to remove the third screw on the back-camera module I realized that it is just plain stuck. I soldiered on, trying to apply a bit more pressure, but all that came from it was that I’ve now grinded the screw-head so that it looks virtually impossible that I can remove it with any screwdriver whatsoever.
Since the phone is almost 3 years old warranty is surpassed, but does anyone have the slightest idea of how I can remove that good-for-nothing screw and get my 12 MP on?
Thanks in advance (from a happy FP2 owner, but also very frustrated camper…)
I visited a couple of phone repair stores to no avail. One of them managed to get the screw to turn but it didn’t come further out, so I’m guessing it has something to do with the screw maybe being crossheaded as well? I used the exact same screwdriver to exchange the top-module with no problem, and the other two screws were no problem either. This is insanely frustrating, since I really want to exchange the 8MP camera for the 12MP one…
Alright, found a solution. Since fairphone is an open-source kind of concept, I decided to open source it myself by going ahead and just gently yanking off the old module, knowingly destroying it in the process. This allowed me to cut of the screws head and installing the new module, albeit with only two of the screws holding it in place, which seems to work just fine.
This probably isn’t tech-kosher, but it got the job done, and I can’t help but feel pride to have solved it however rough my method was…haha…
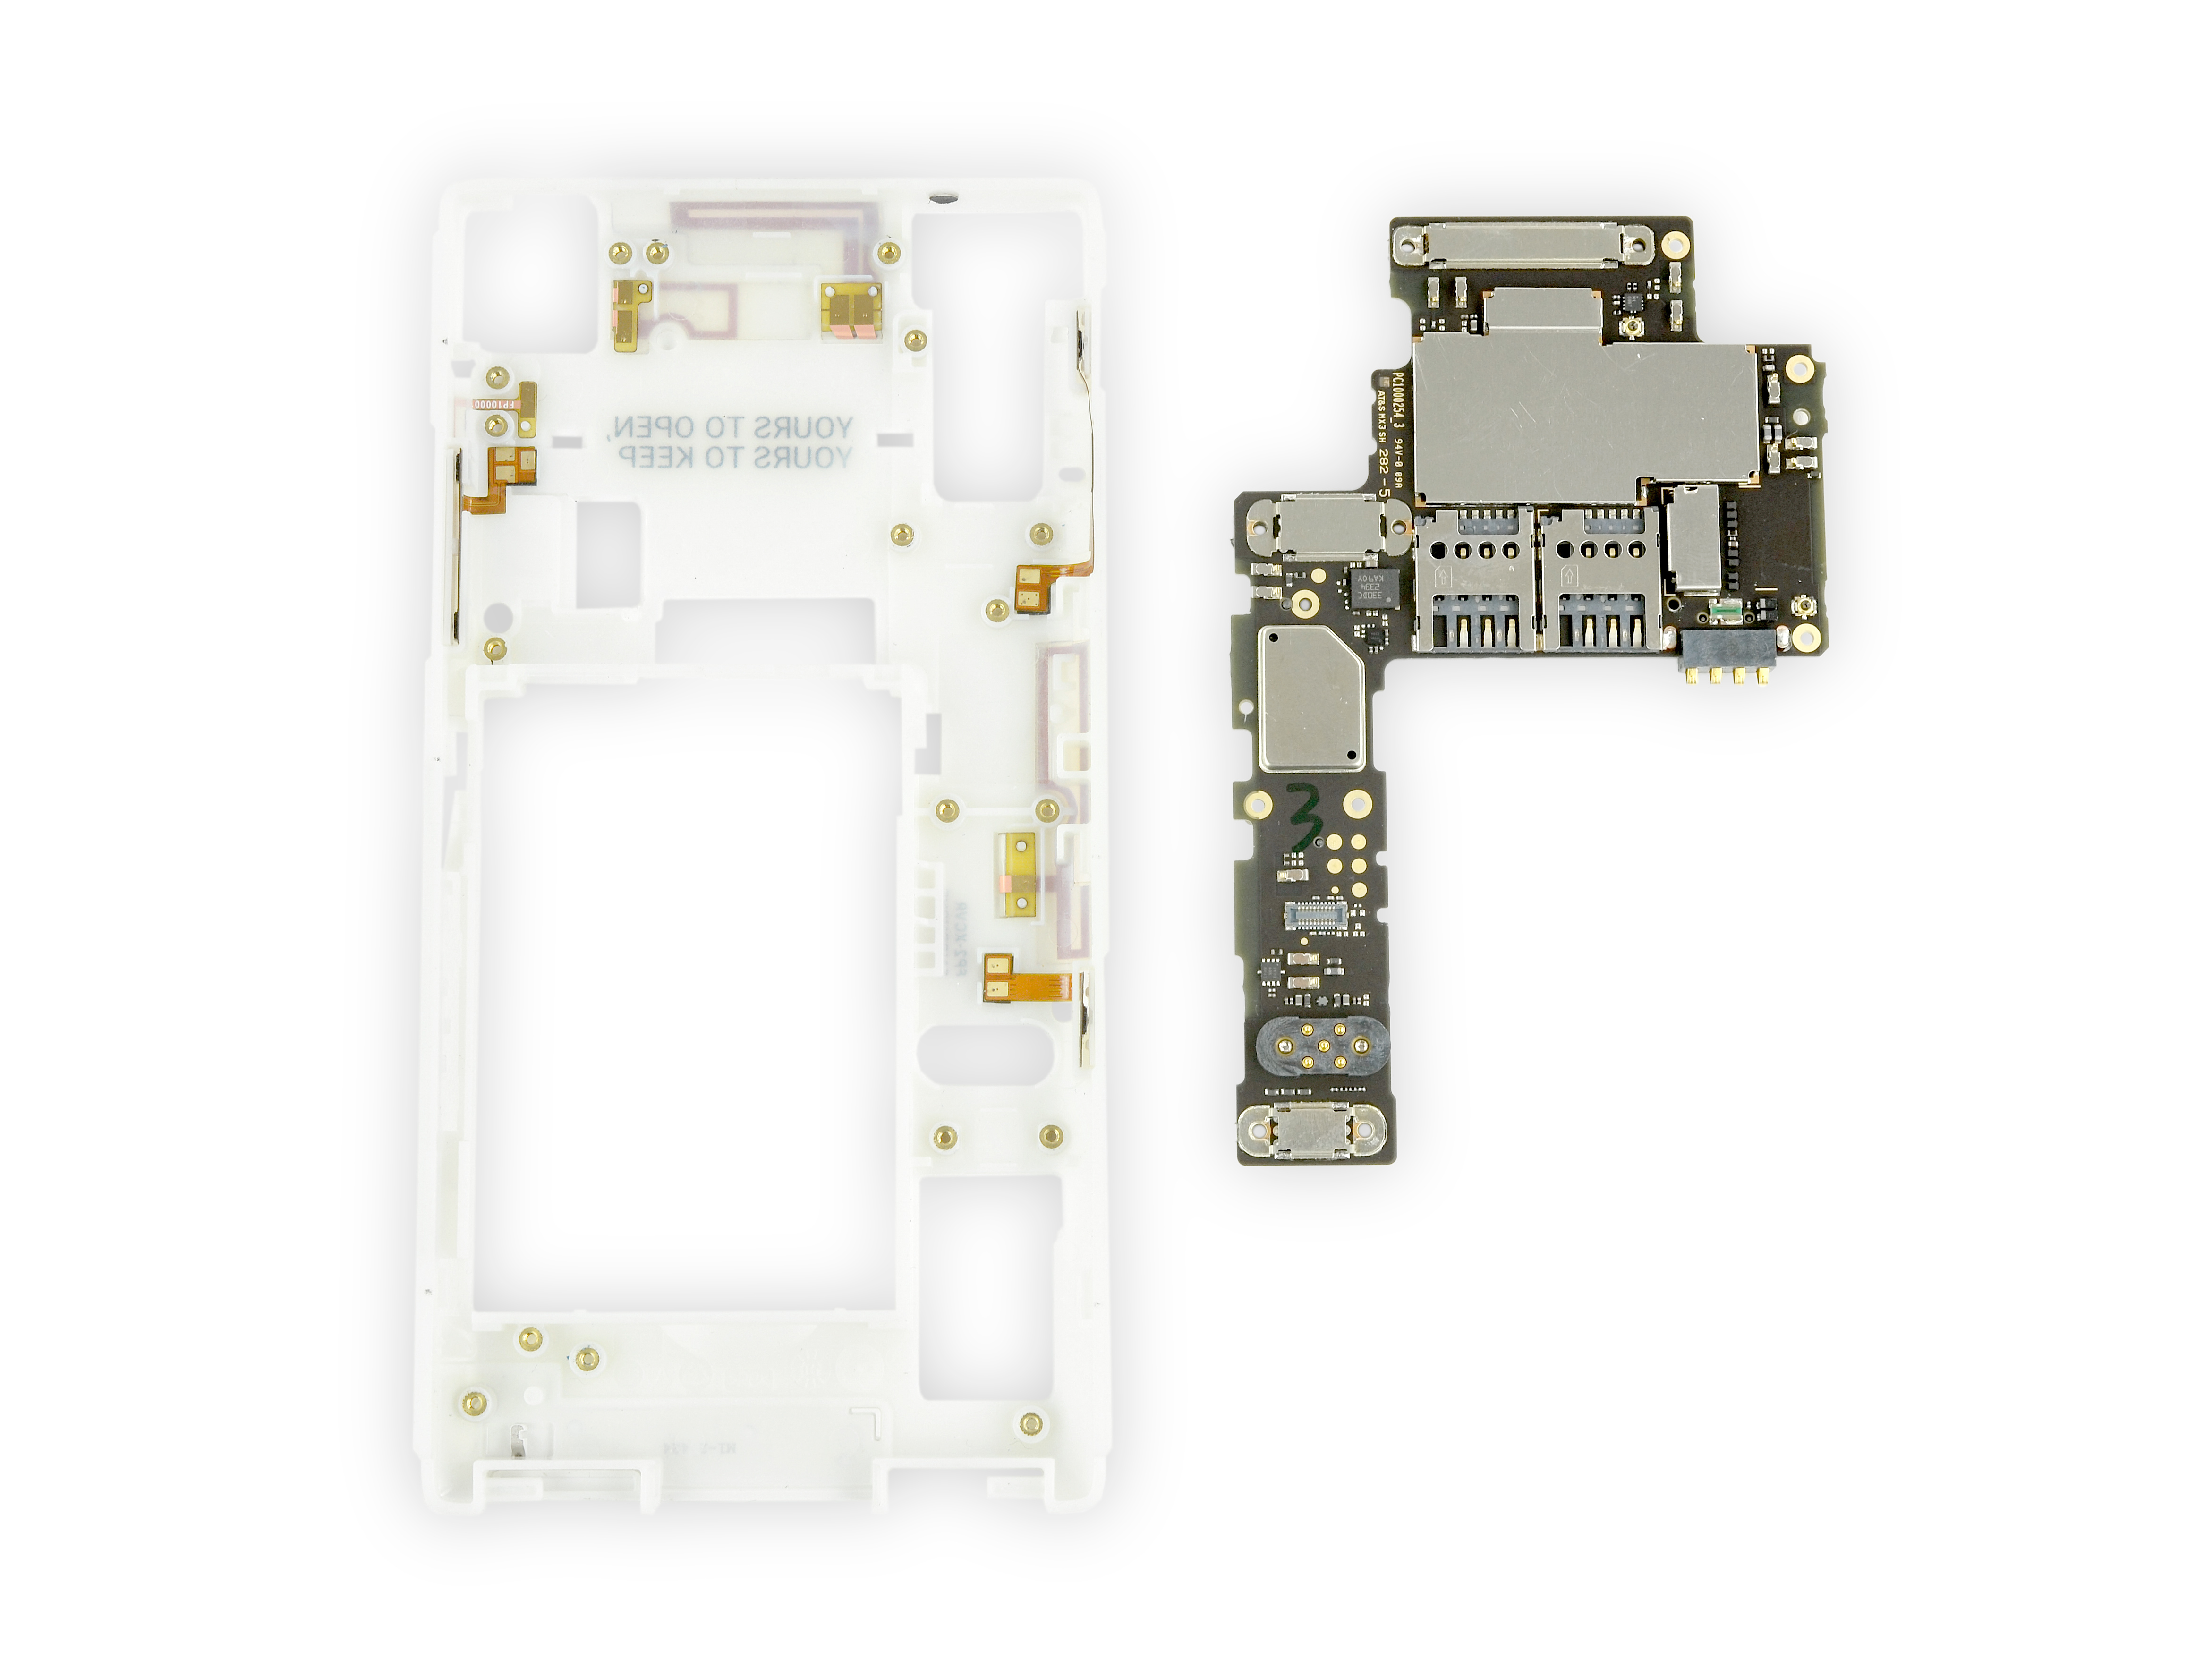
You could look out for a defect core module if you want all three screws to work again. Using a Torx screwdriver, the whole board can be unscrewed from the plastic tray. (For others: Only recommended if warranty is voided.)
I don’t think I quite know what you mean, but I am curious to understand. Right now, the screw that I cut is still stuck in the screw-socket(?) and the 12MP module is thus only fastened by the top and right screws, but since the destroyed screw is still in place, I don’t see how I could get it working again with a new core module? But please, explain what I am missing
My idea was that you would unscrew the board (and everything else) out of the white plastic tray of your current core module. Then (assuming you have a second core module) you could do the same with the defect (second) core module and screw your working board into the second core module’s white tray.
Oh, not I get what you mean. That definitely sounds like something worthy of a try, but that is assuming that the core module itself doesnt have the (spiraling pattern that fastens the screw, what is the word?) and that it only fastens to the plastic casing of the core module?
Have a look at my Picture source link, you’ll find more photos and instructions there. The screws only go through simple holes in the board, the board itself hasn’t got threads (that’s the word).