 This is a #wiki post You can help improve it by editing it using the green pencil symbol in the top right corner. It is also a #staff curated post that can quickly be linked to by writing #disassemble.
To meta discuss this guide or if you need further help please continue here.
The Fairphone 2 sometimes has to be taken apart, for repair, to upgrade or replace a module, to switch cards, to show off how easy it is or simply out of curiosity.
Here is how you do it:
- take off the cover
- take out the battery
- move the two blue clips to the center
- take off the screen
If the screen won't come off easily click here to see a trick with pictures by @Spielmops
@Spielmops used a self-made “wall” to make macro shots easier. The tool which helped is an SD card - normal size - a credit card or similar will do too.
Push the phone’s body this way with your hand
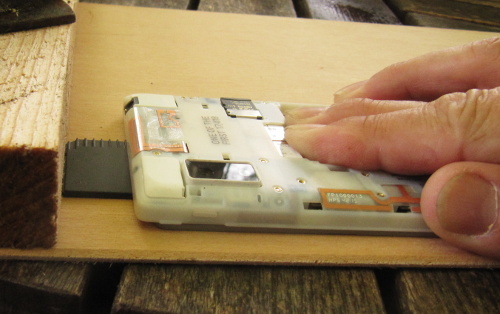
This is the right height for a tool to hold against the display
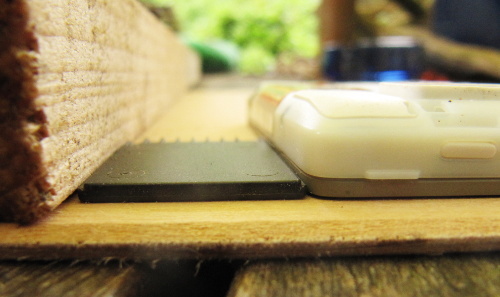
Here is the state “pushed”
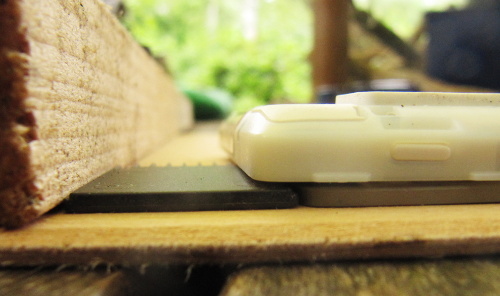
Once again: this is the amount of way to push - no more! Now lift the body from the display
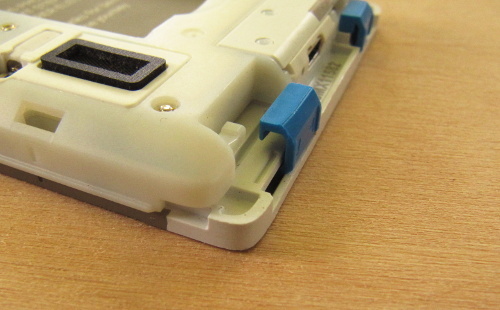
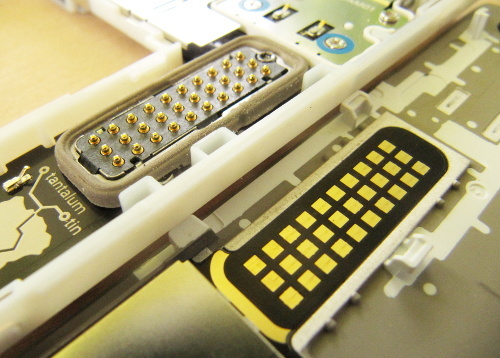
These are the contact areas. Clean them with (ethyl)-alcohol if necessary
Good luck and be patient!
There is also a video on how to replace the screen (starting with taking off a regular cover) on youtube.
Now that the screen is off you can use a #0 Screwdriver to take out a module (remove each screw on the module that has a blue rim around it).
If you want to clean the connectors between the modules to troubleshoot hardware issues, use ethyl alcohol.
Here is a youtube video on replacing modules.
If you still miss a step or if you want to take a module further apart (you’ll lose warranty) check out the guide on iFixit.