Cool! I don’t actually have that device. If I knew your module existed, I’d have bought it, because buying the microUSB version at this point did not make sense IMO. Instead I bought a C3 (which uses microUSB and WiFi but has its own LCD screen as well so can be used standalone).
1 Like
Now that the units will shipp soon here is how to assemble.
The modules come with the PCB in the bottom layer of the module and the top layers already glued and loosely put ontop. Remove the top layer of the module. Open your old module and carefully pry out the speaker and push out the vibration motor. Install the speaker in the top half of the module with the contact facing upwards and push in the vibration motor, it can only go in one way. Then press the top half with the speaker and vibration motor and the bottom half with the PCB. Then install the module like you would with an genuine module, take care not to thighten the screws too much. If you have a noisy sound, try loosening the screws. It’s advised to wash your hand after handling the exposed PCB.
The PCB does contain lead. The PCB must not be trown in the ordinary trash.
Although the module case is made out of PLA and is more environmentally friendly, it still is plastik and takes still more than 100 years to decompose. PLA is (even though not as bad as other ones) still plastik, so treat it as such.
7 Likes


Is this action reversible? (To reuse the whole old module?)
1 Like
Yes, it is.
You can just press in the speaker and vibration motor. It is common that the speaker gets a bit damaged when this is done often, but my speaker is really damaged and it still works without any noticable change in sound. One issue is also that the clips on the original housing can break off and the metal ones can bend, but that’s not a problem, I’ve used a module with broken clips and it worked.
So, Yes you can, but it’s not recommended to do this often
3 Likes
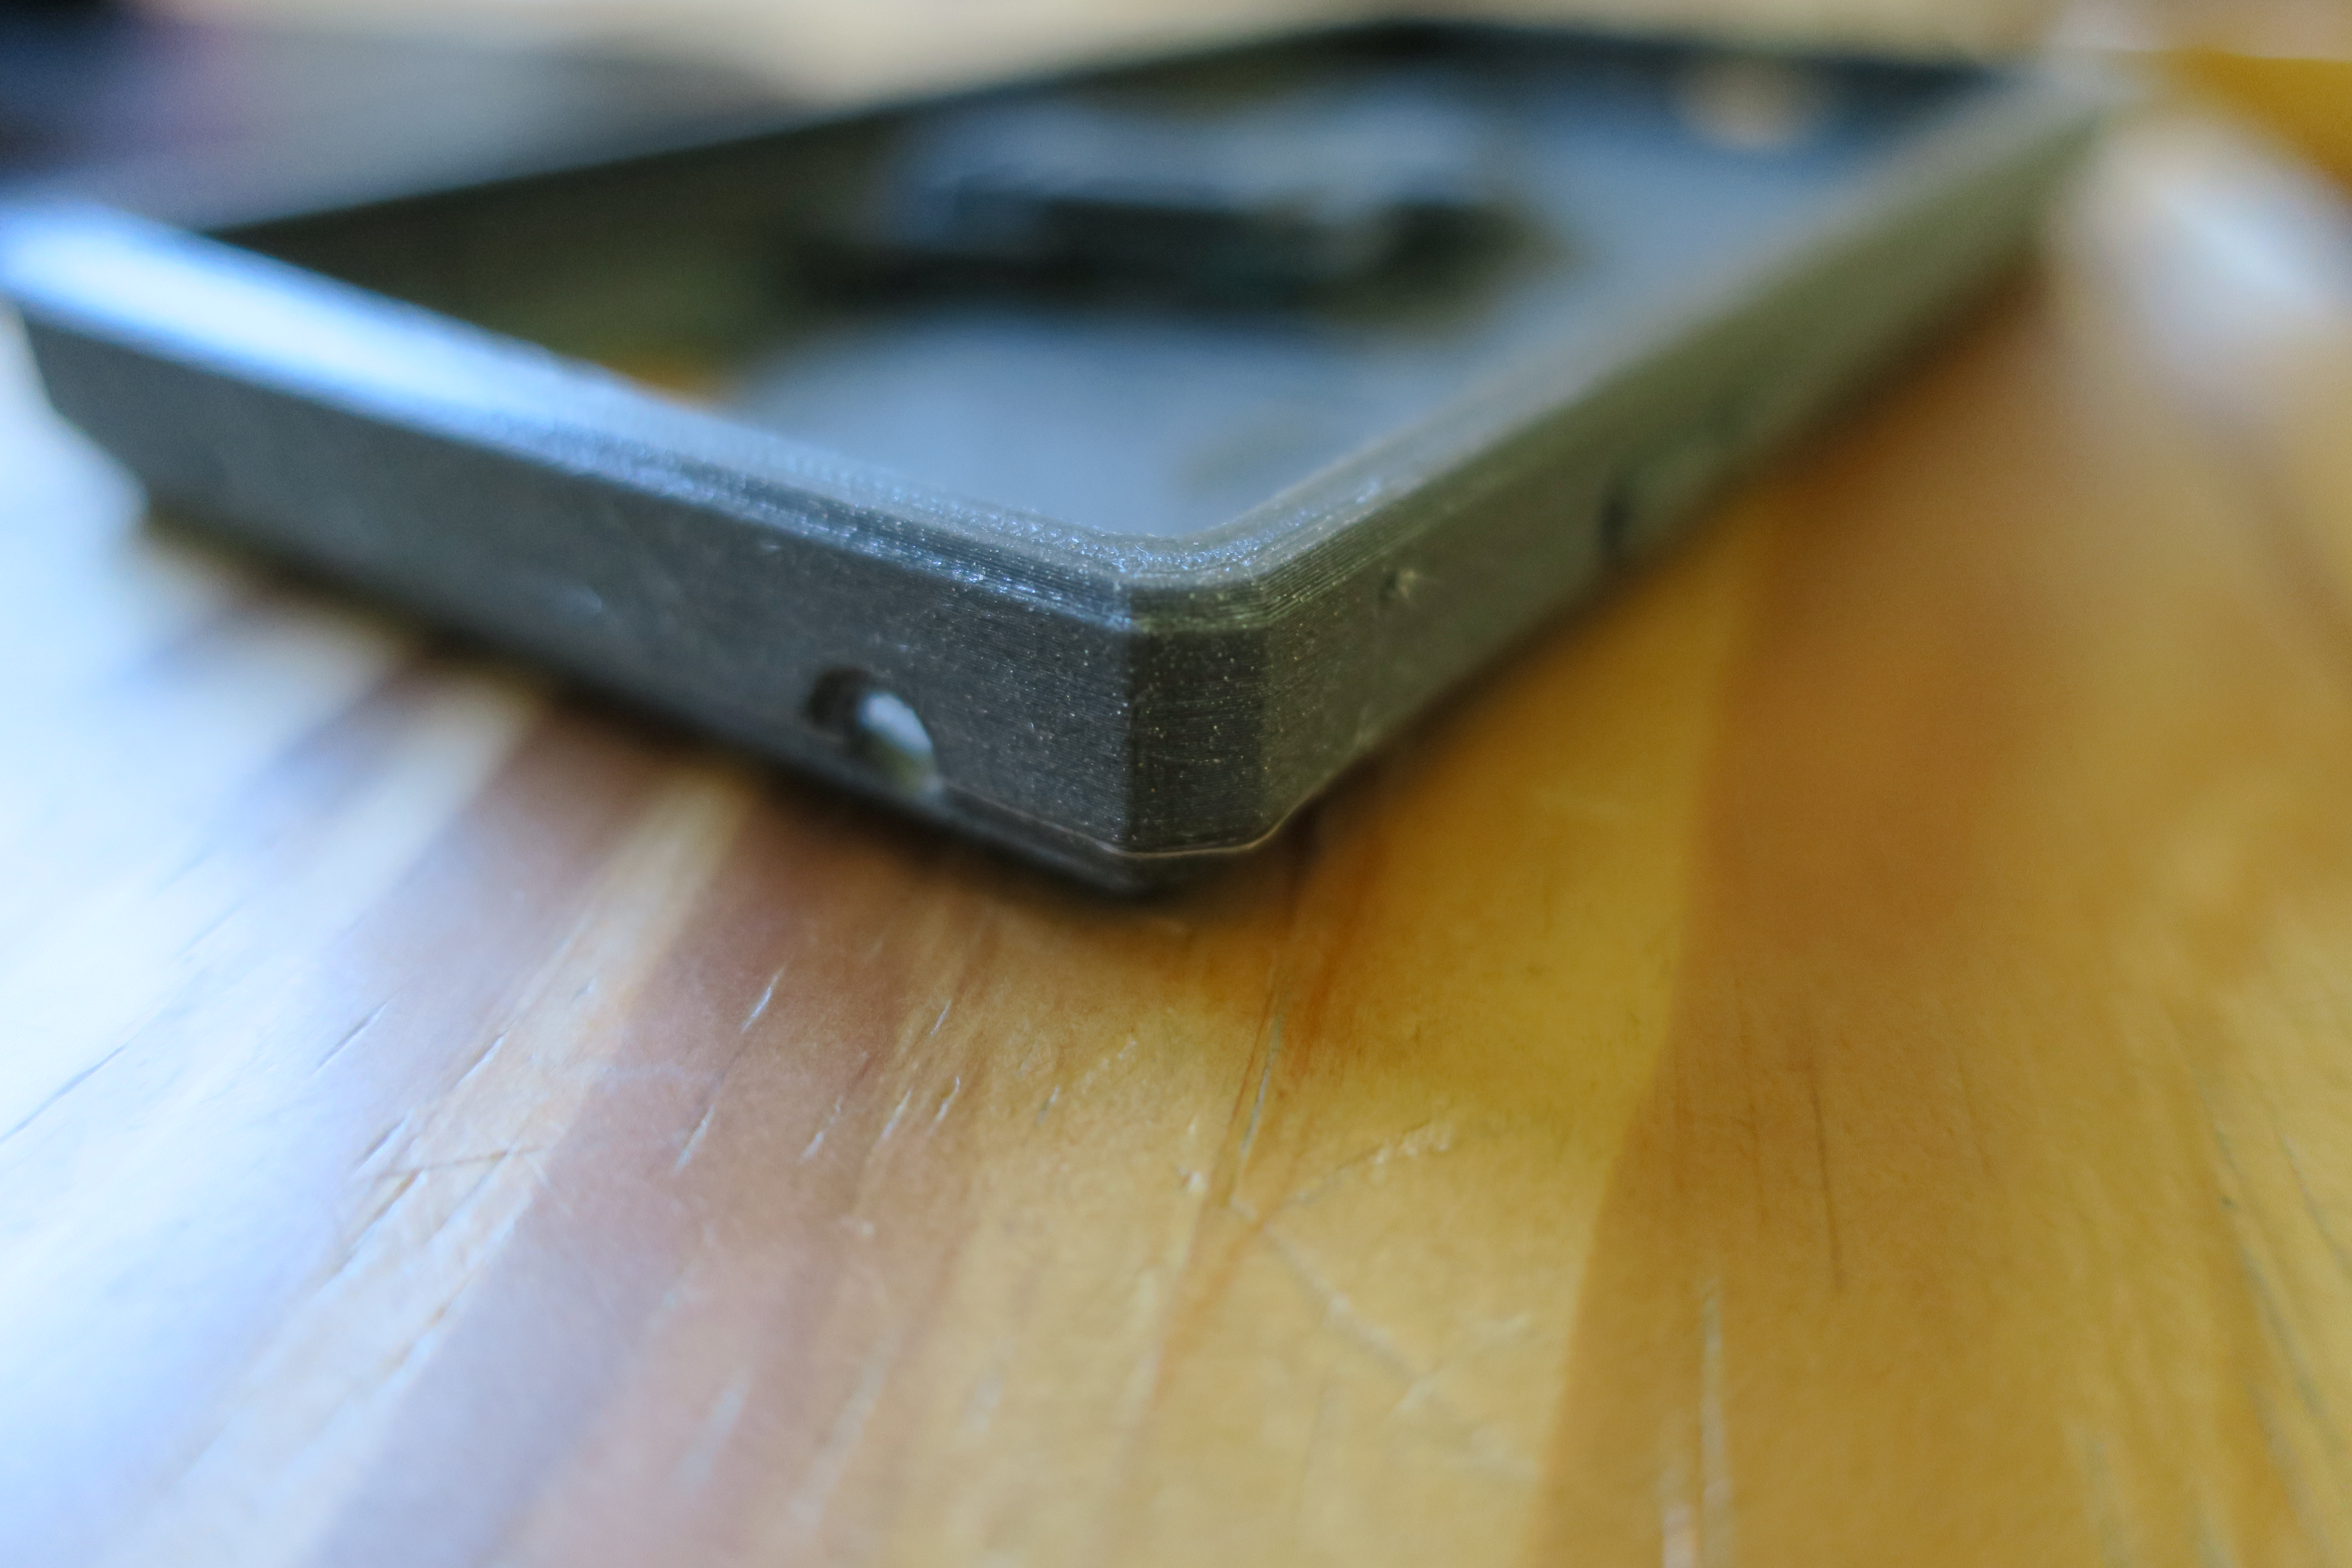
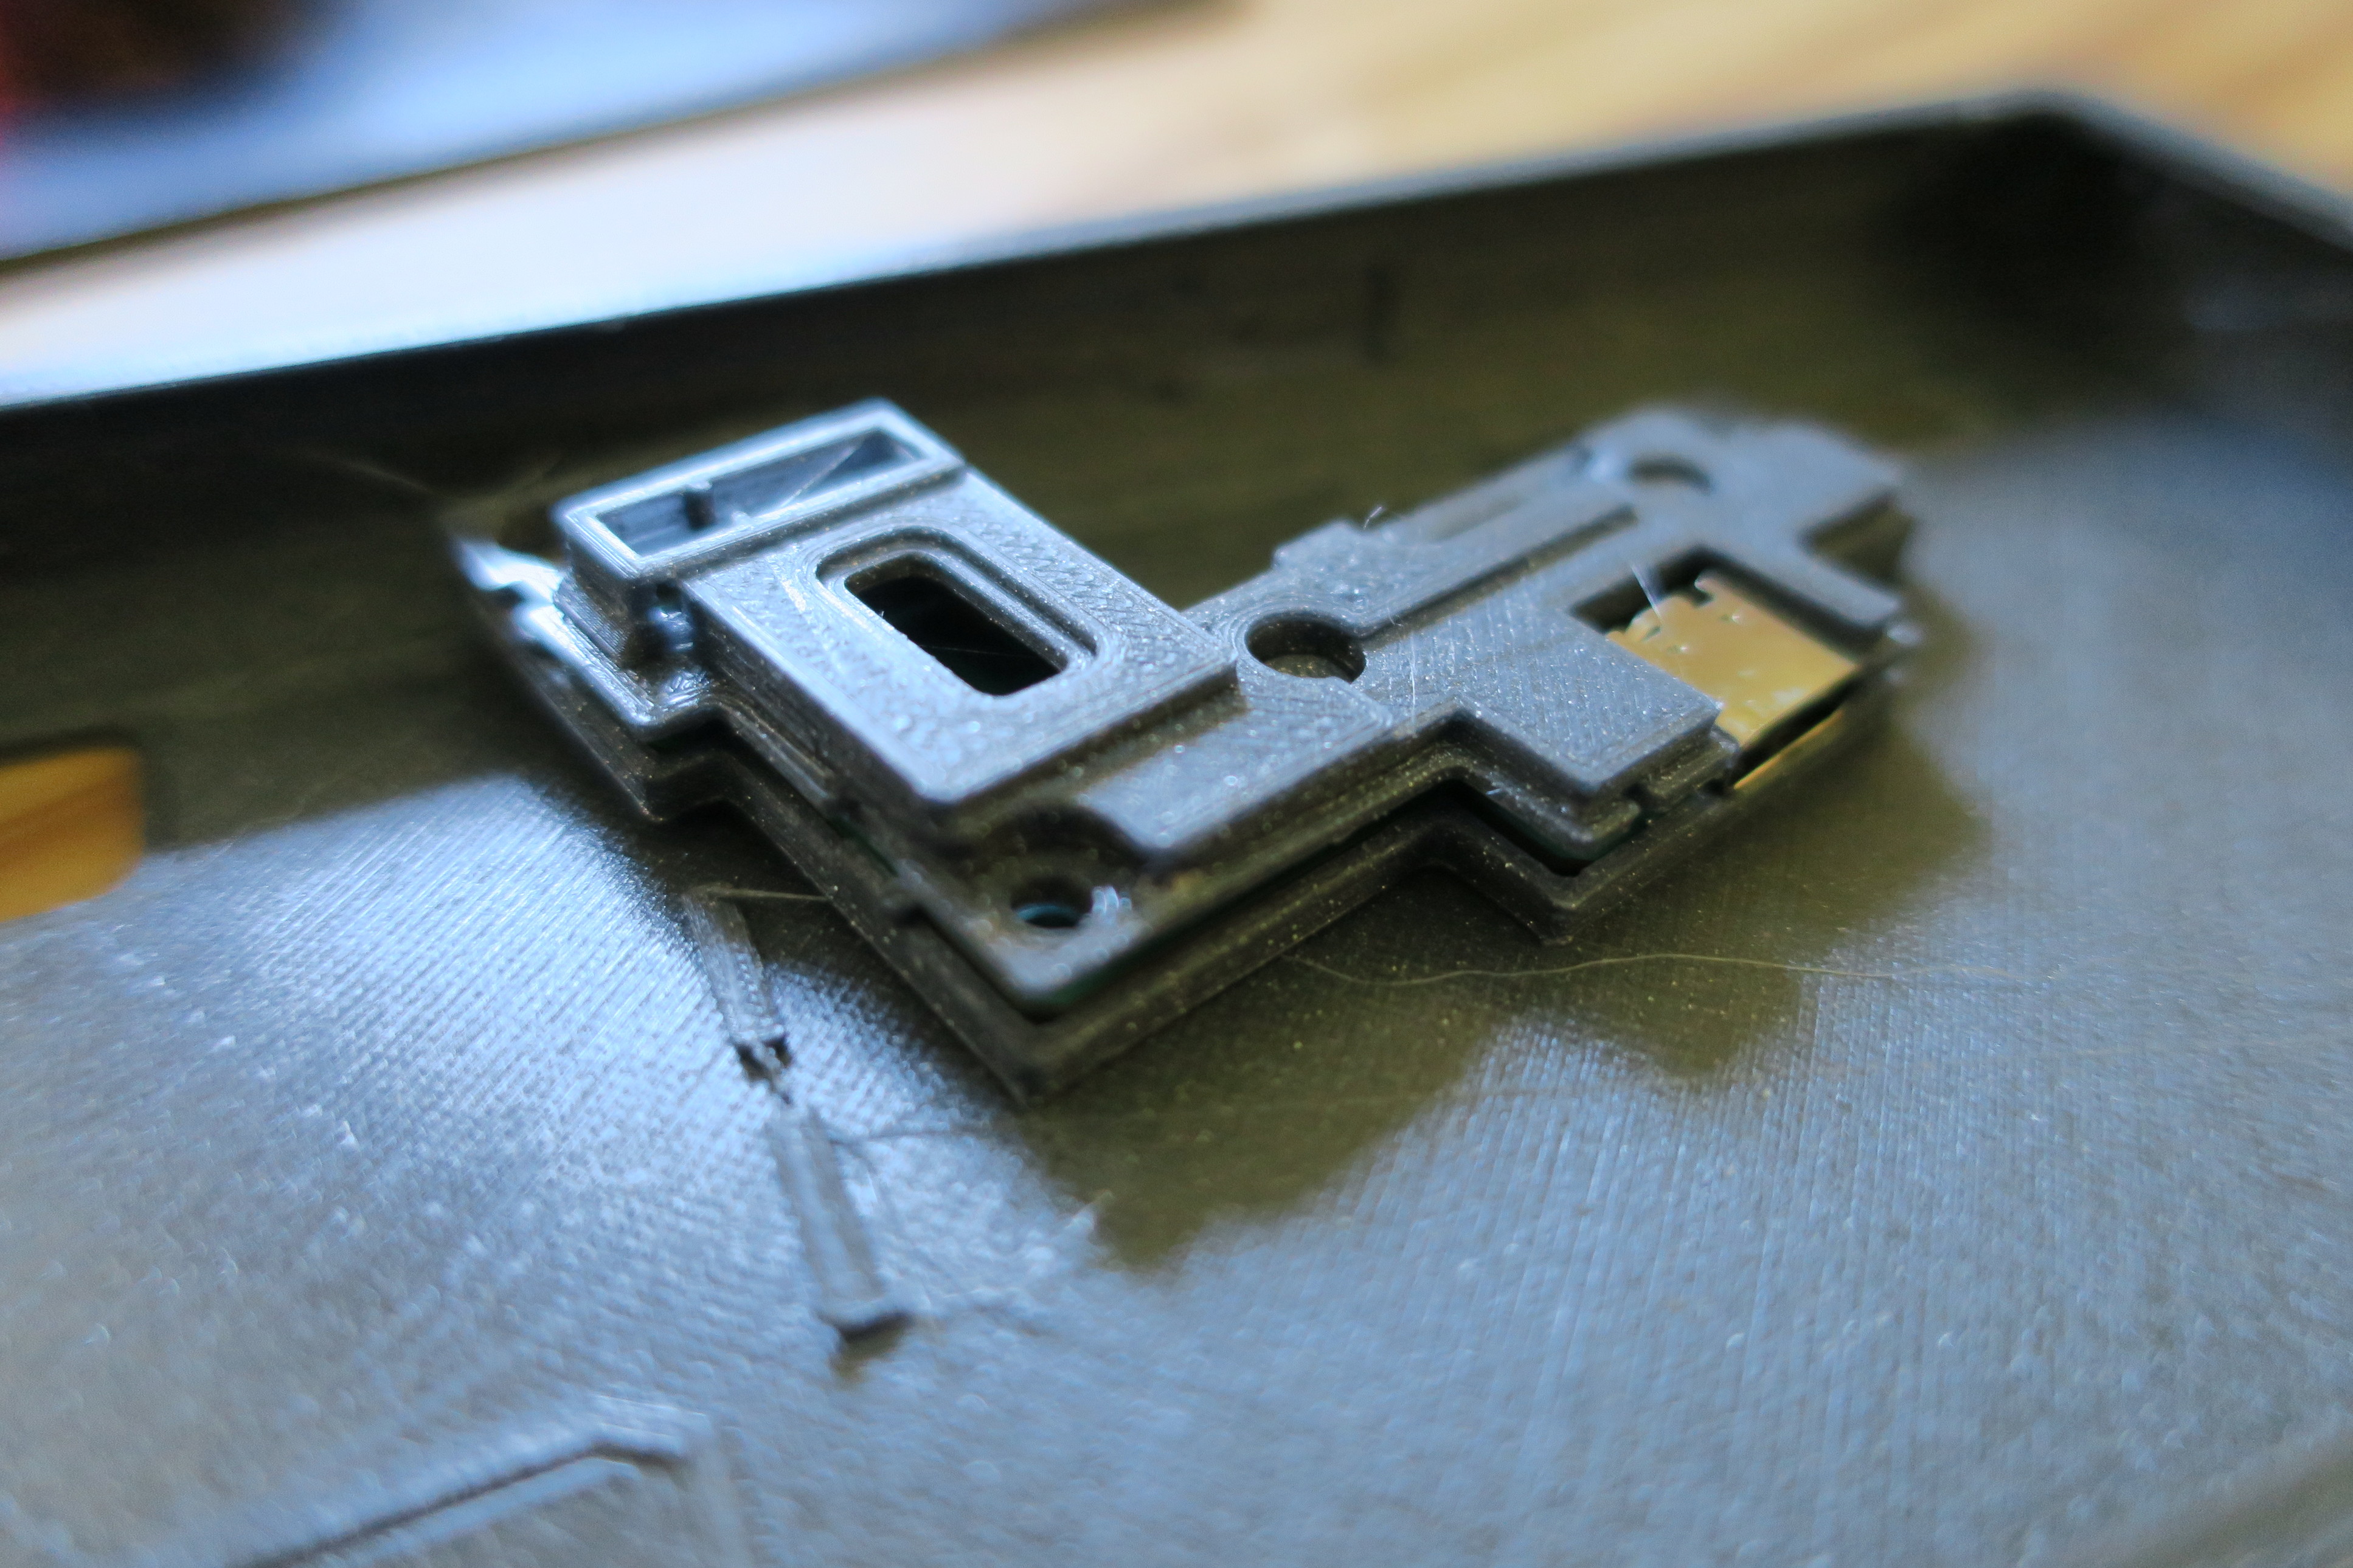
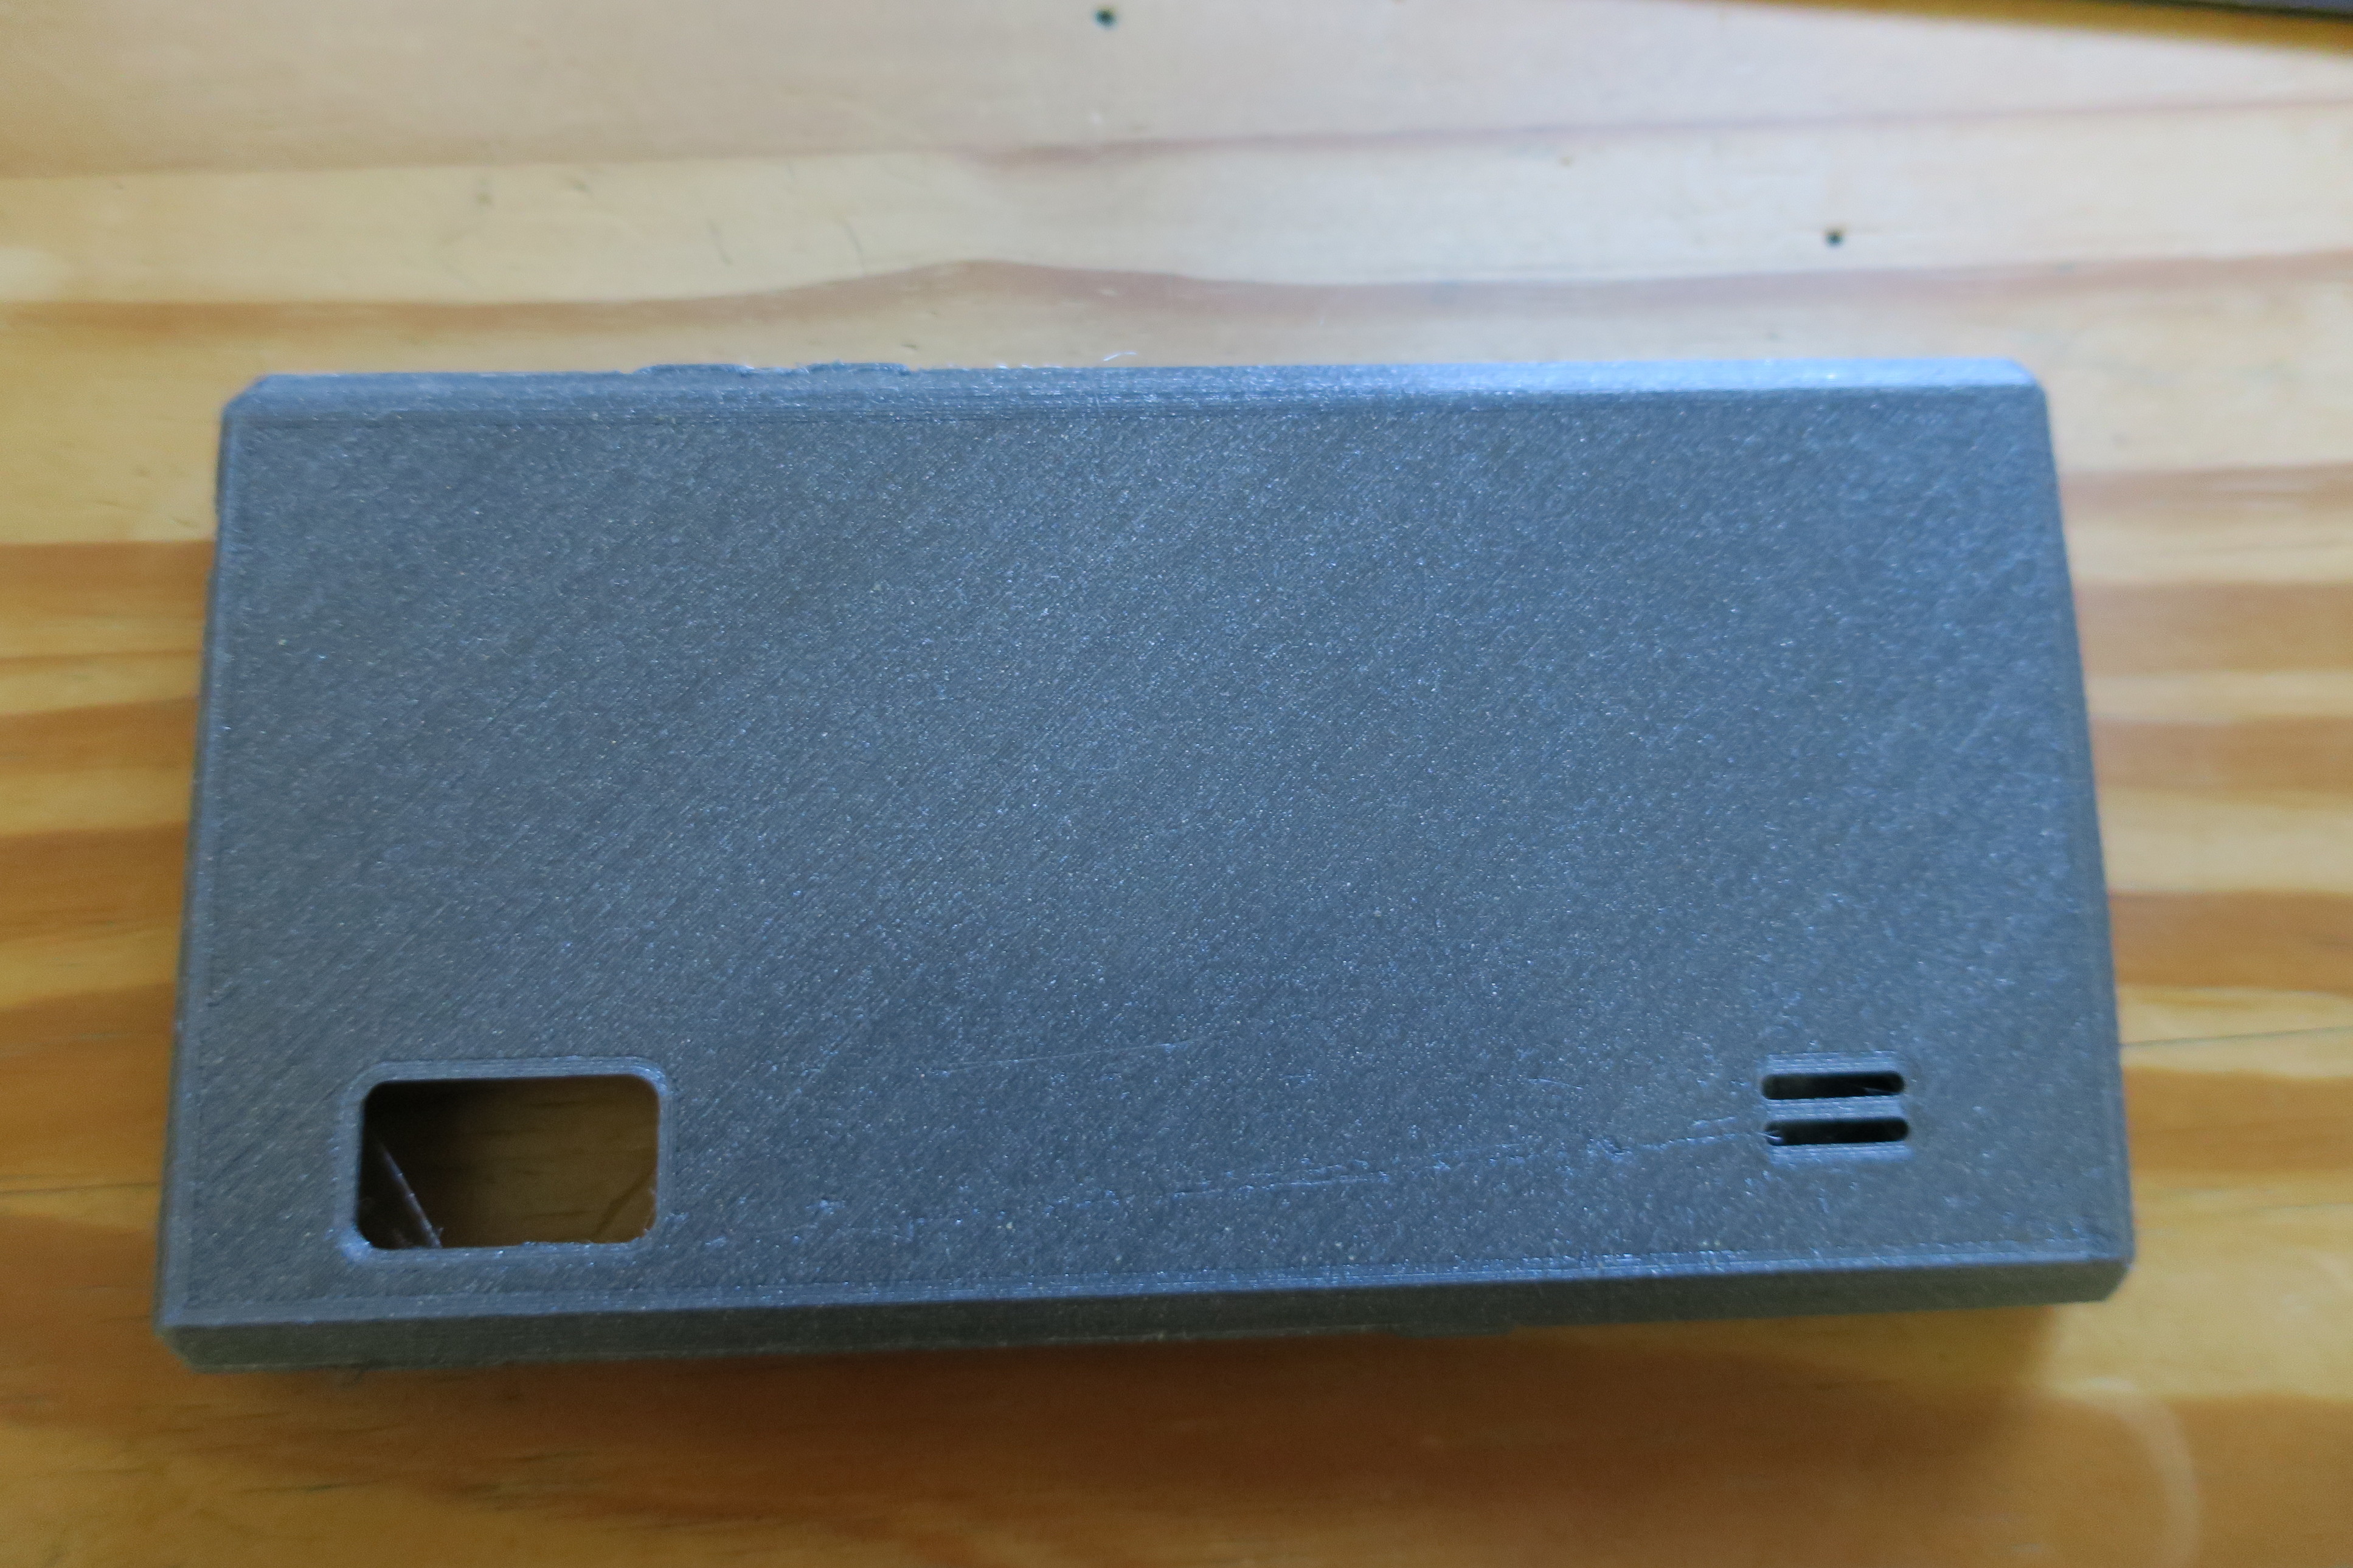
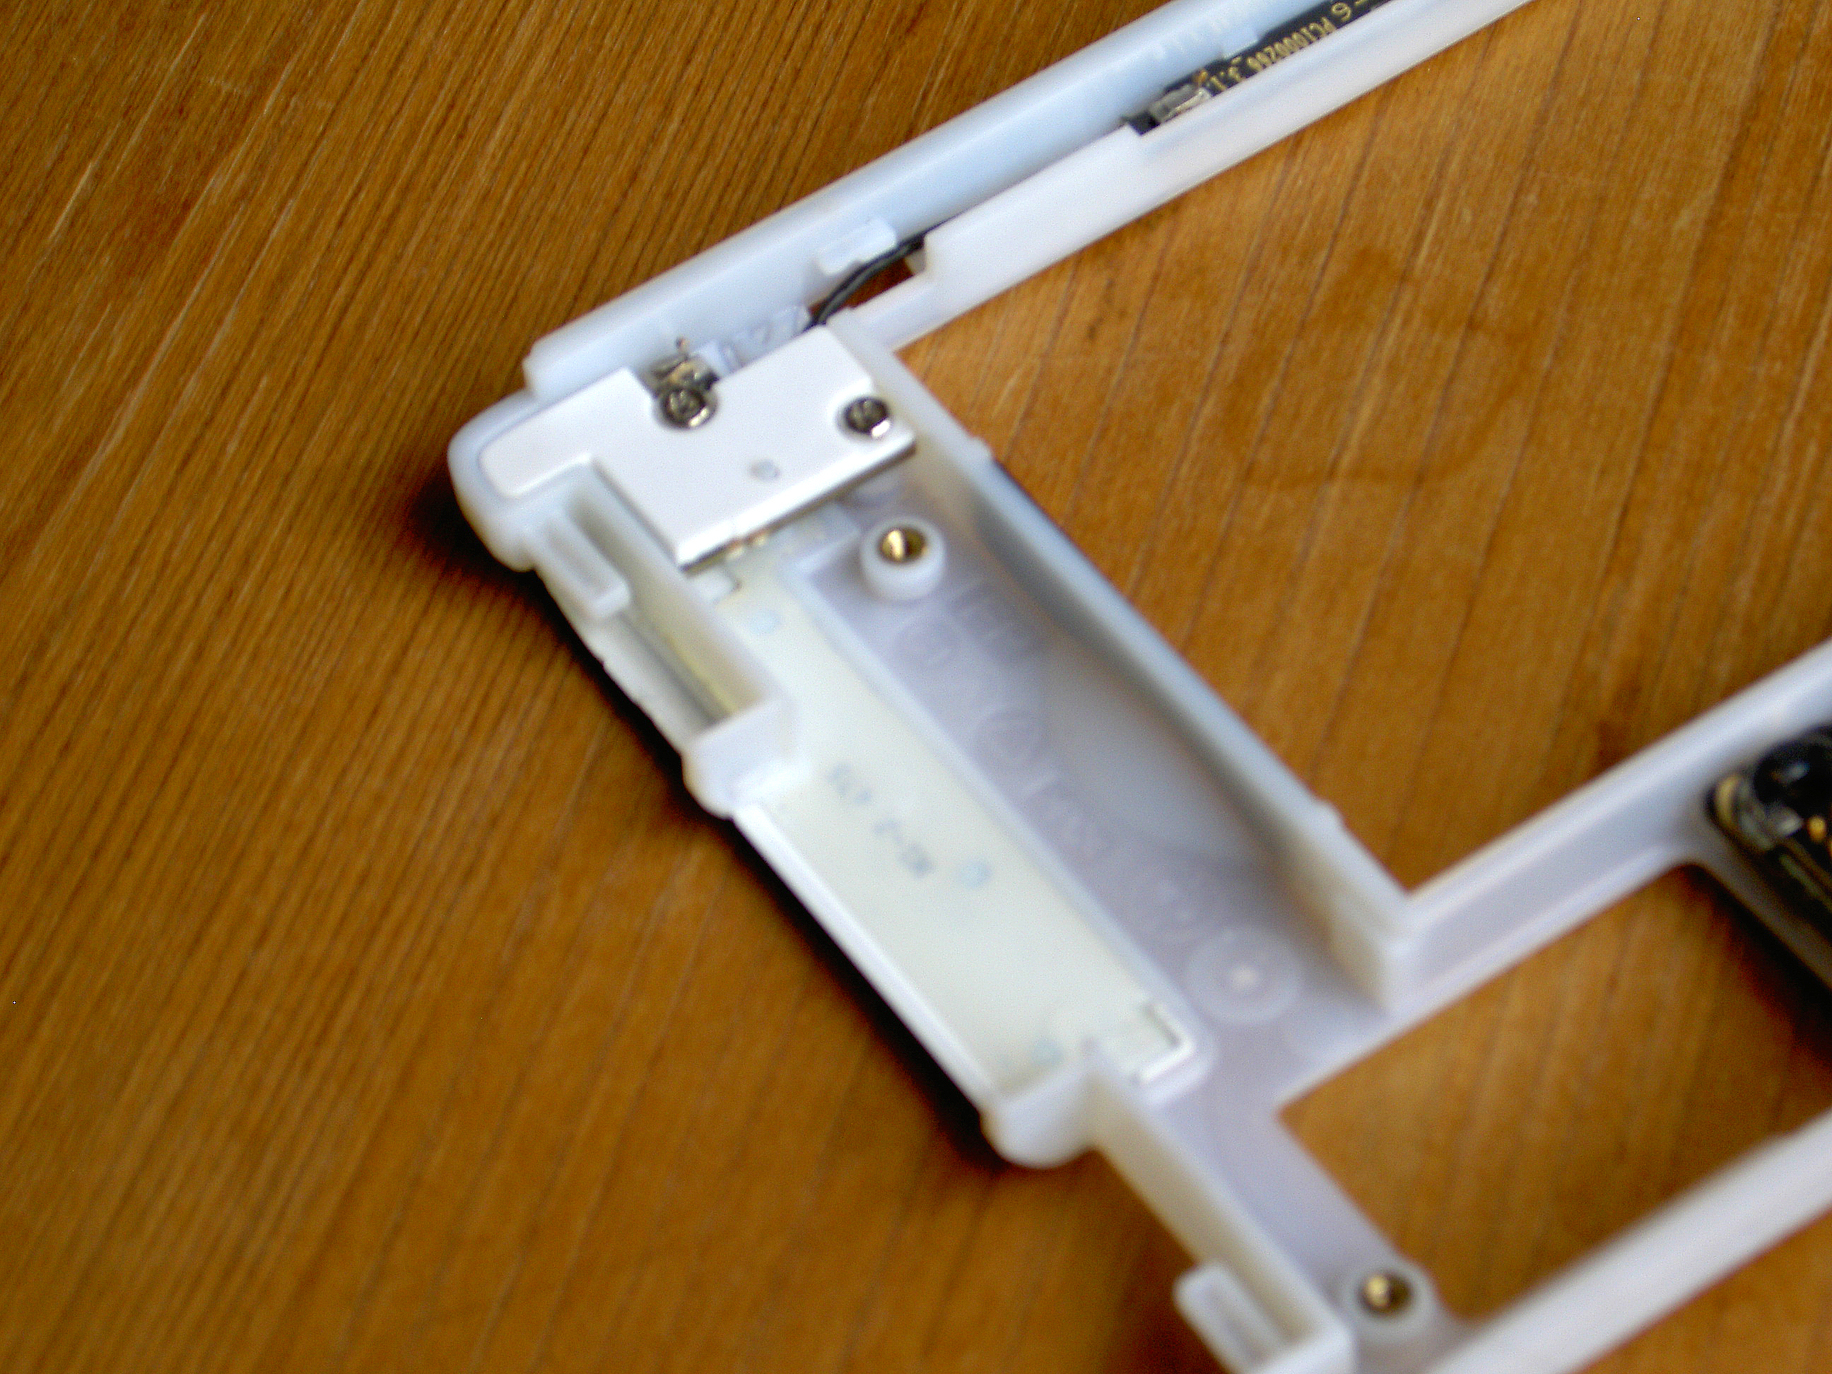
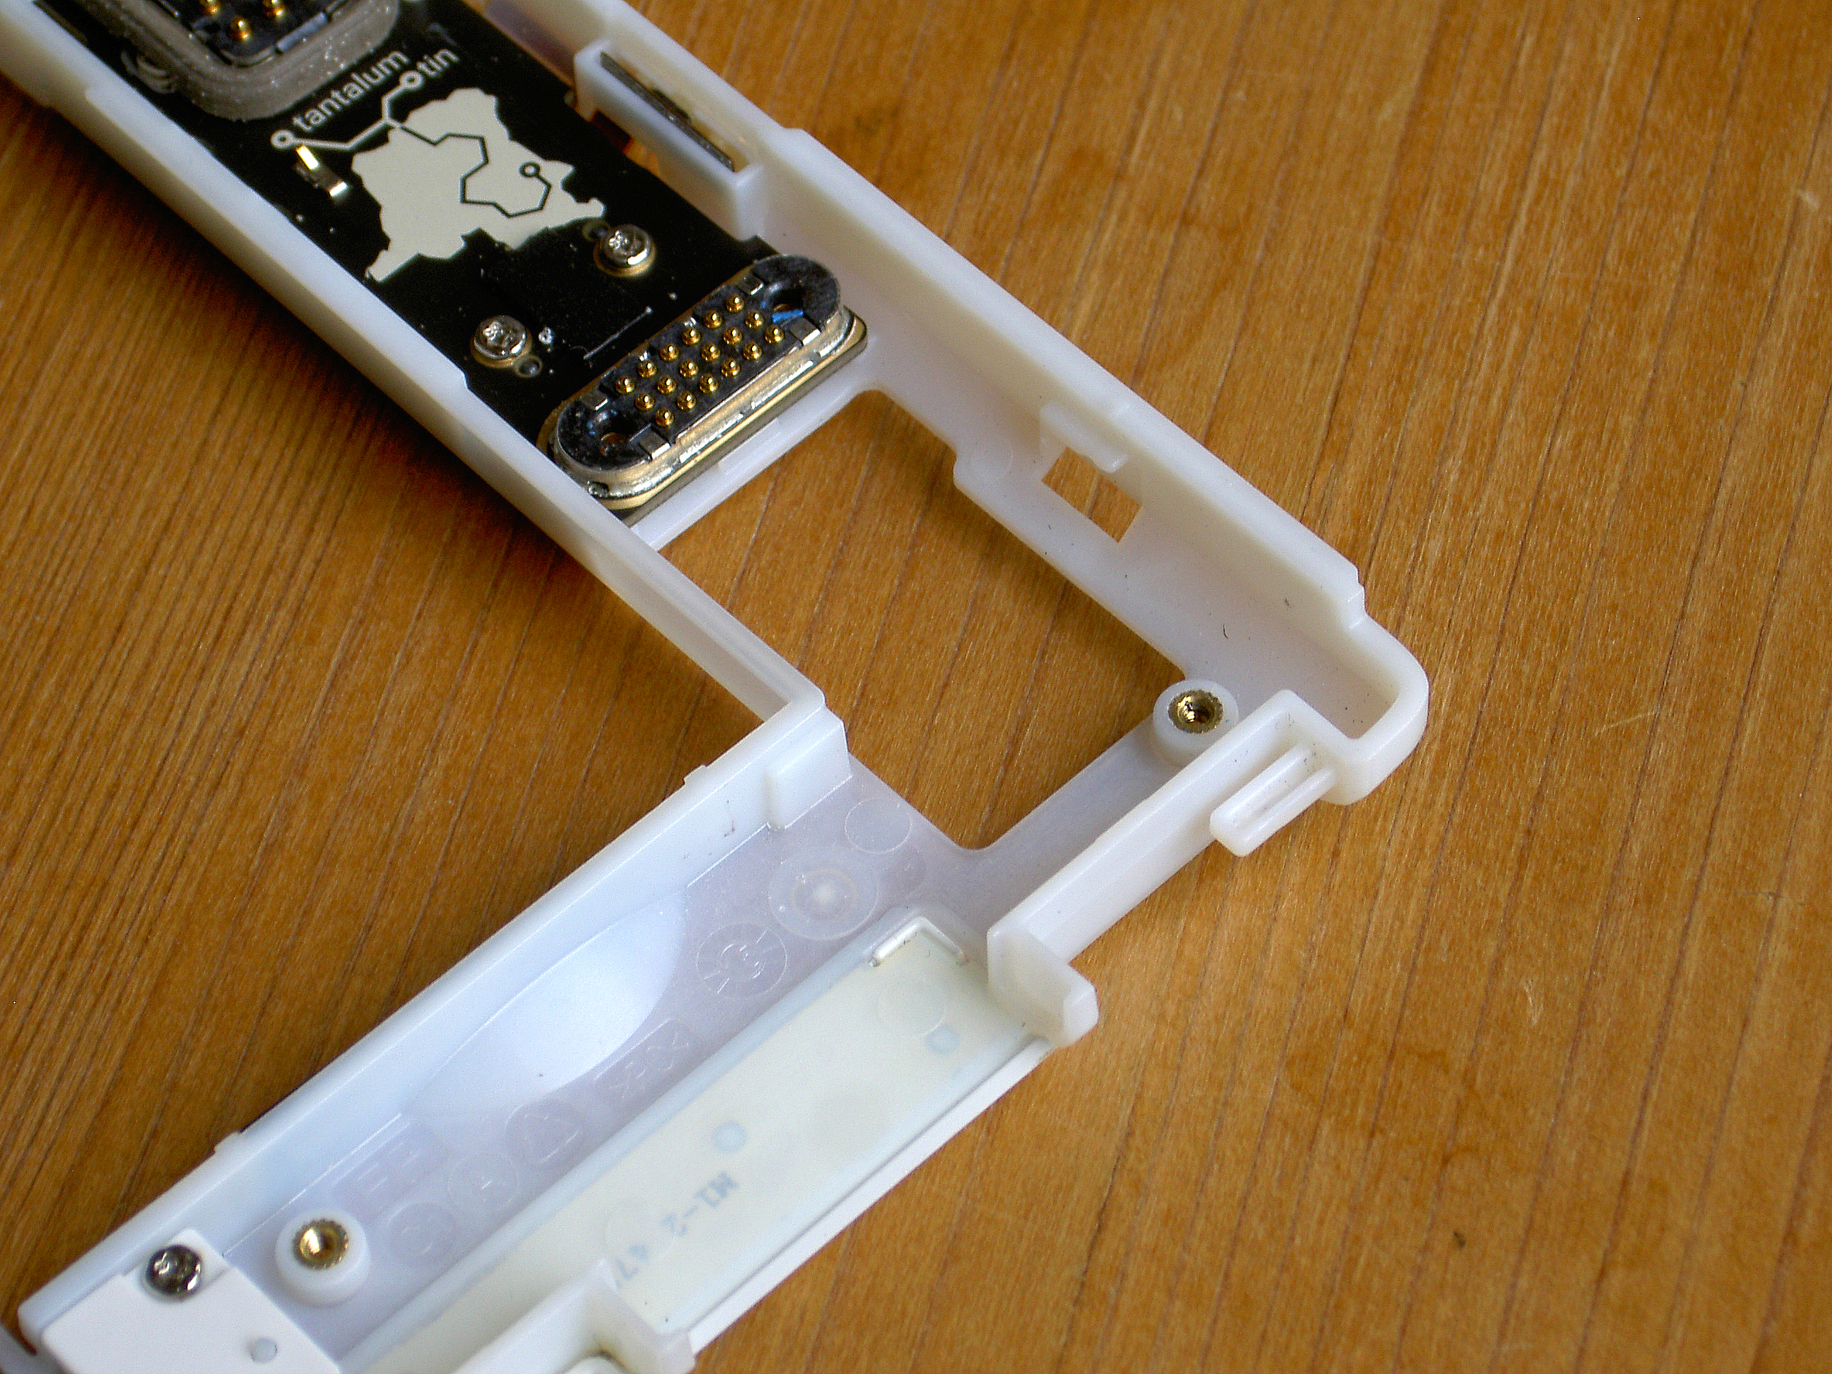
I got the opportunity to test the experimental USB-C bottom module, a big thank you to @Leo_TheCrafter for providing me with his PCB. 
For the moment I only tested without the speaker and vibration motor; my regular bottom module is still working and I don’t have the star-shaped screwdriver to open it. However even without those two items my FP2 started flawesly, I could even took the last picture in front of a mirror as I don’t have here any camera except my FP2 
Housing was printed by my sister with a Prusa i3 MK3.
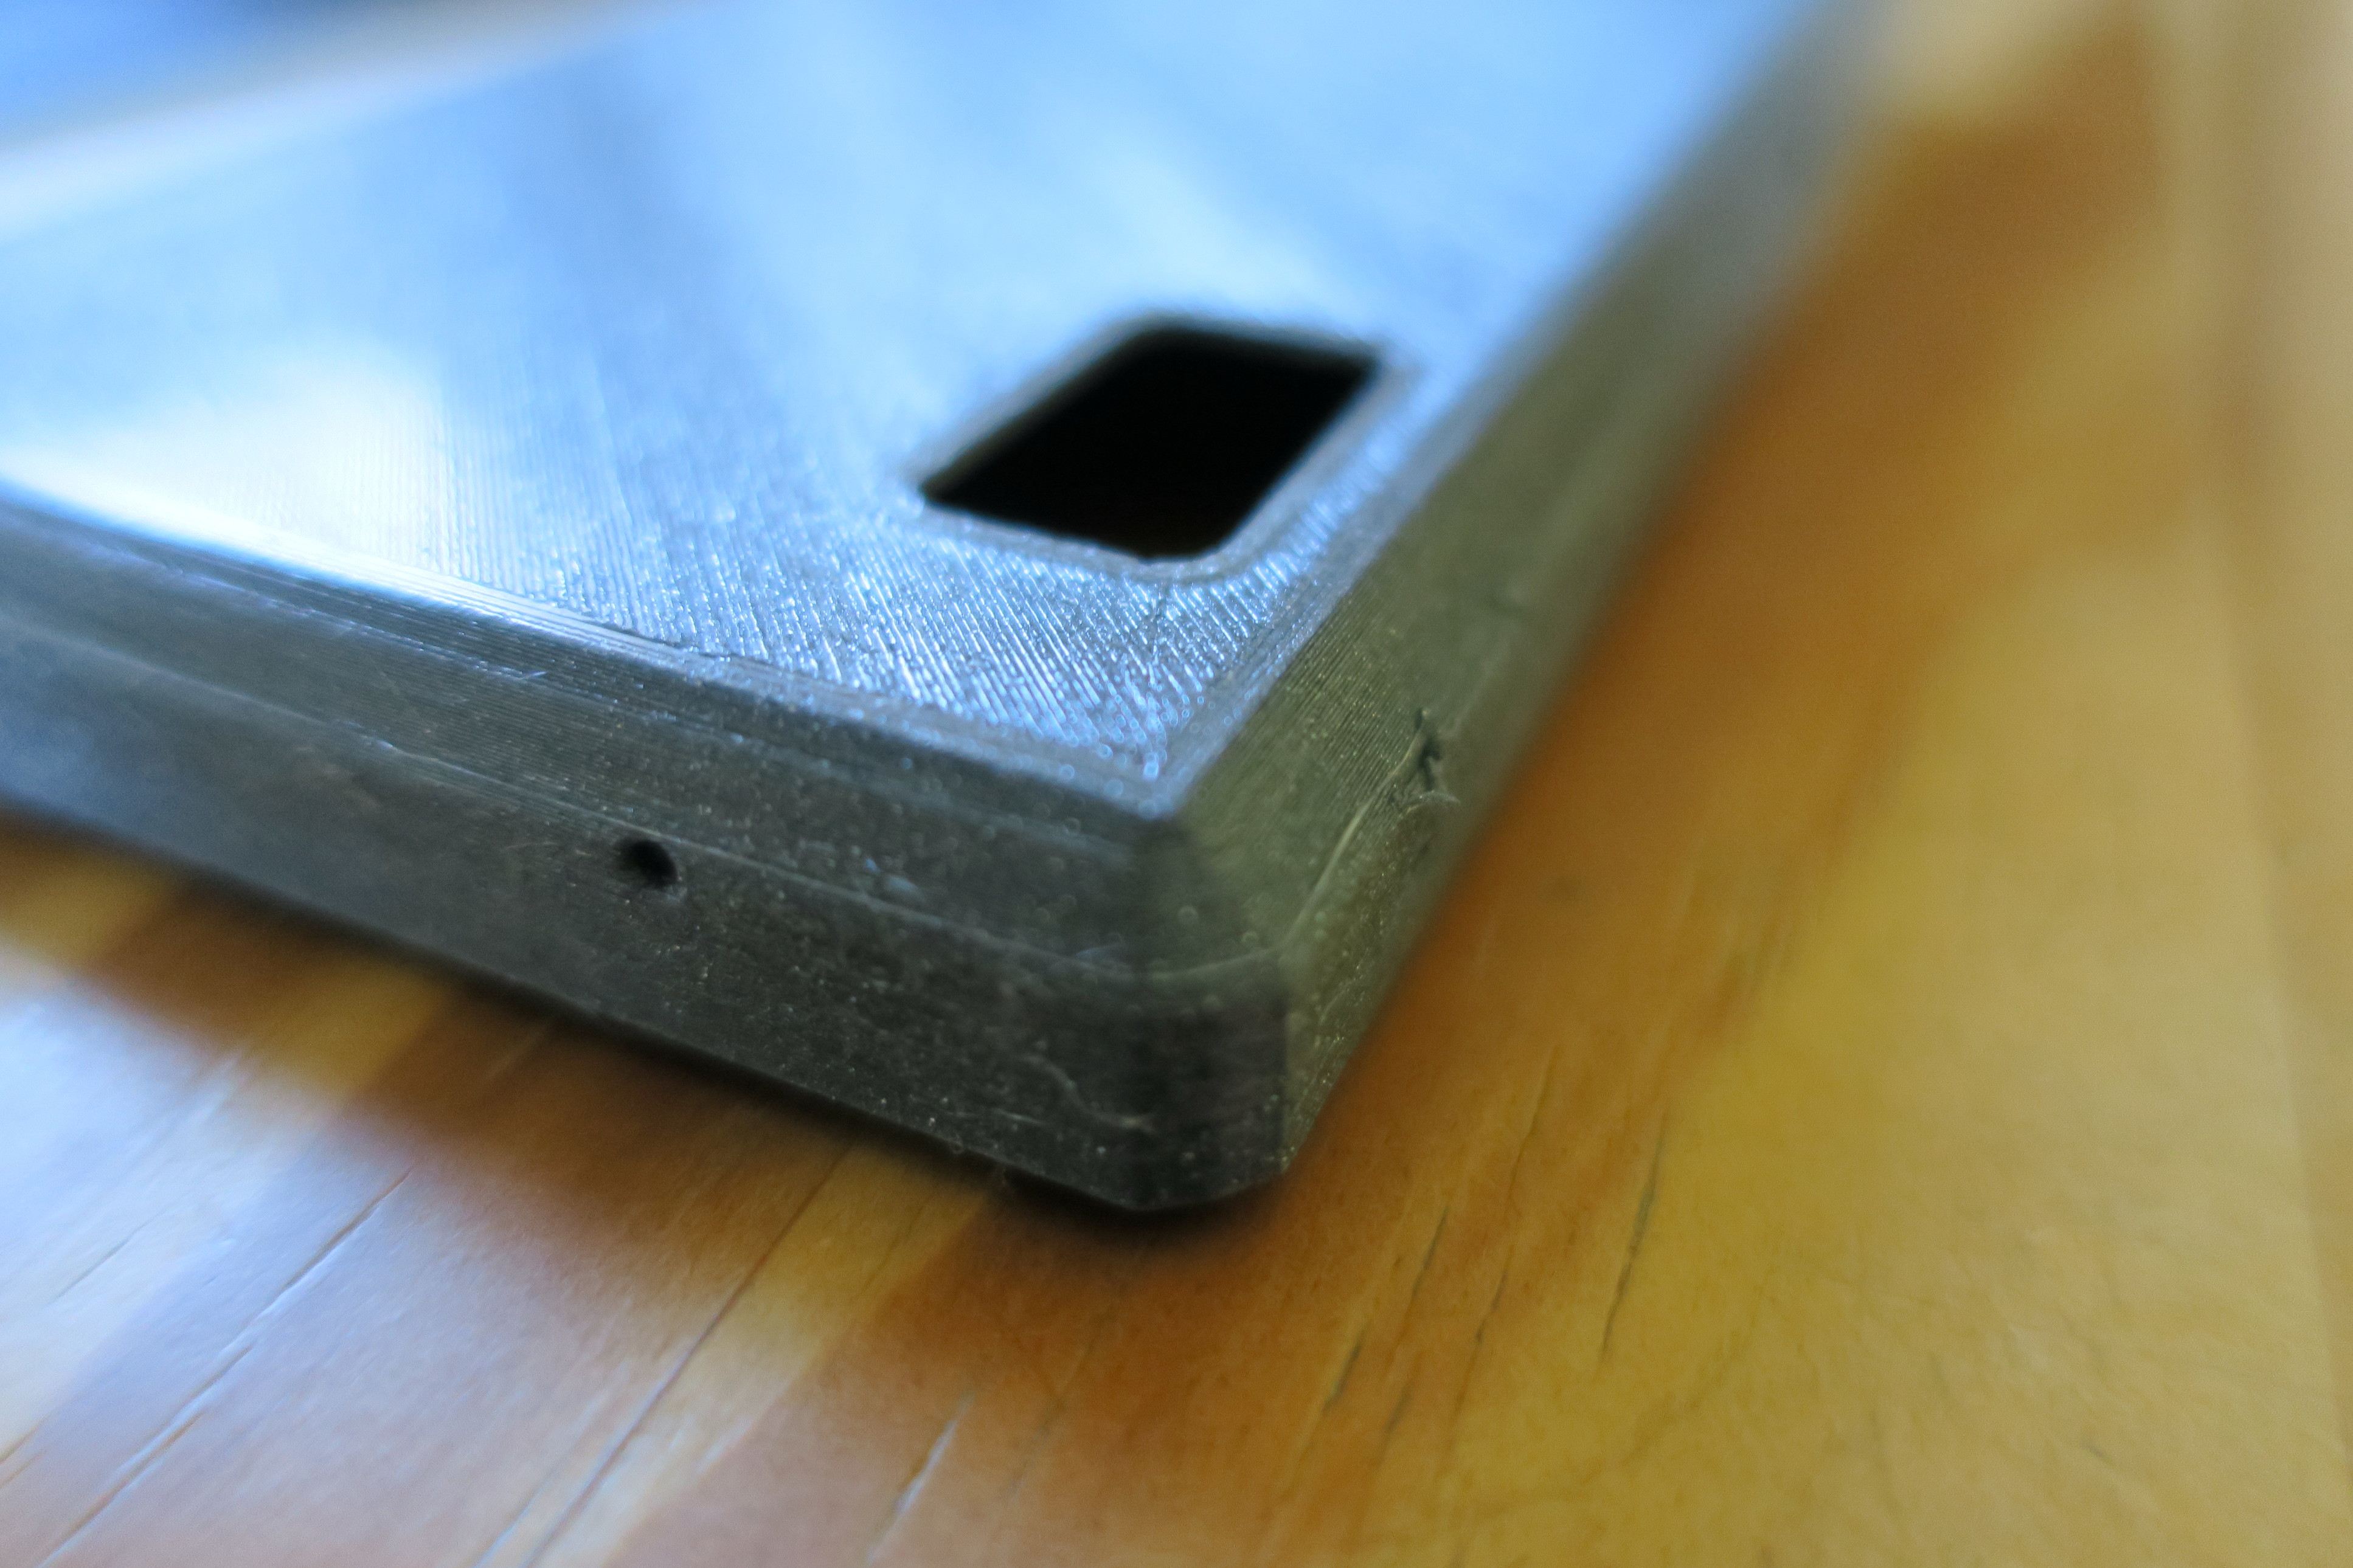
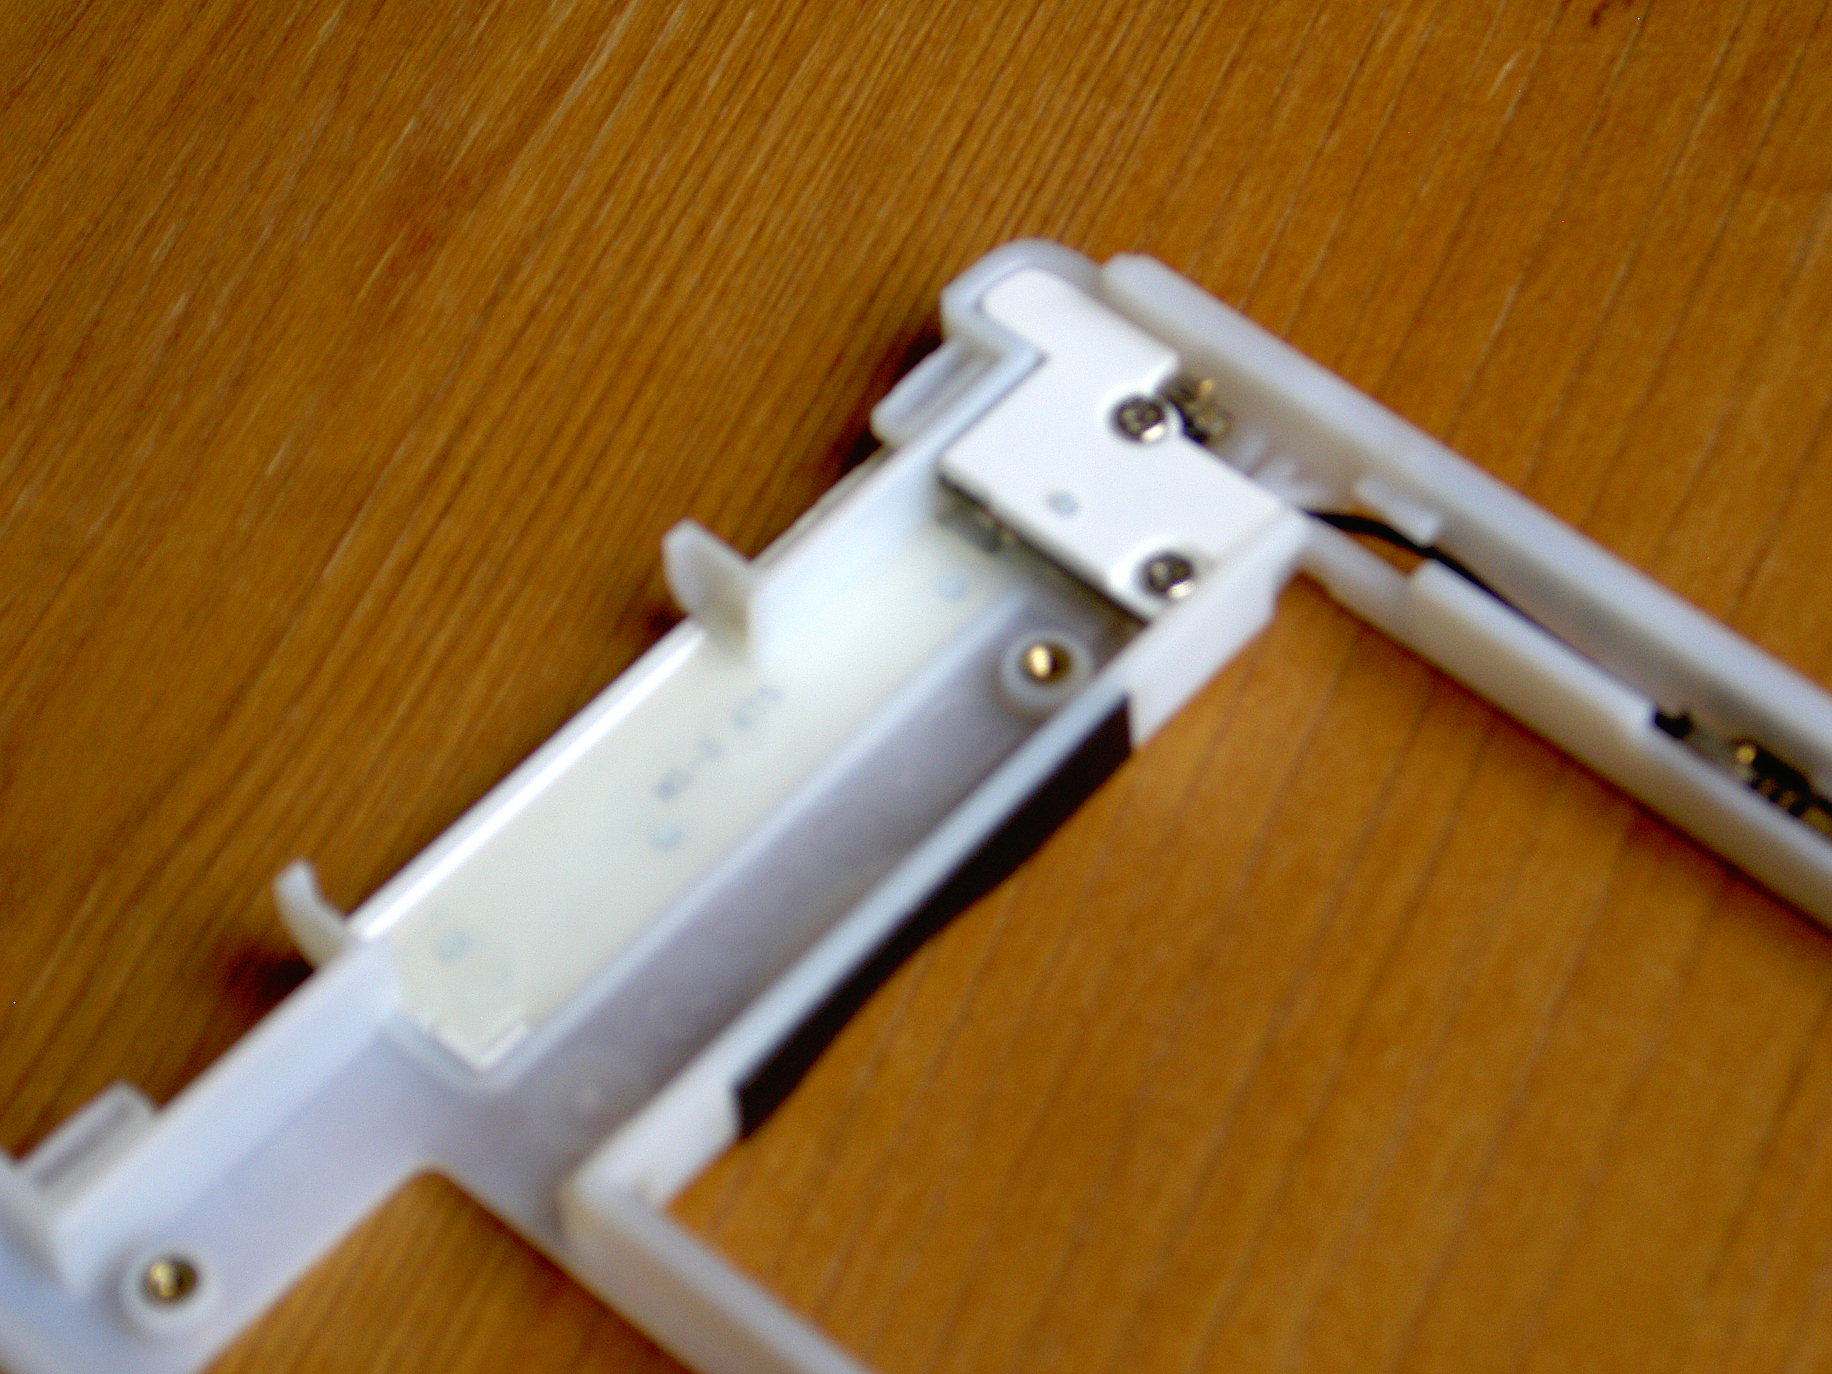
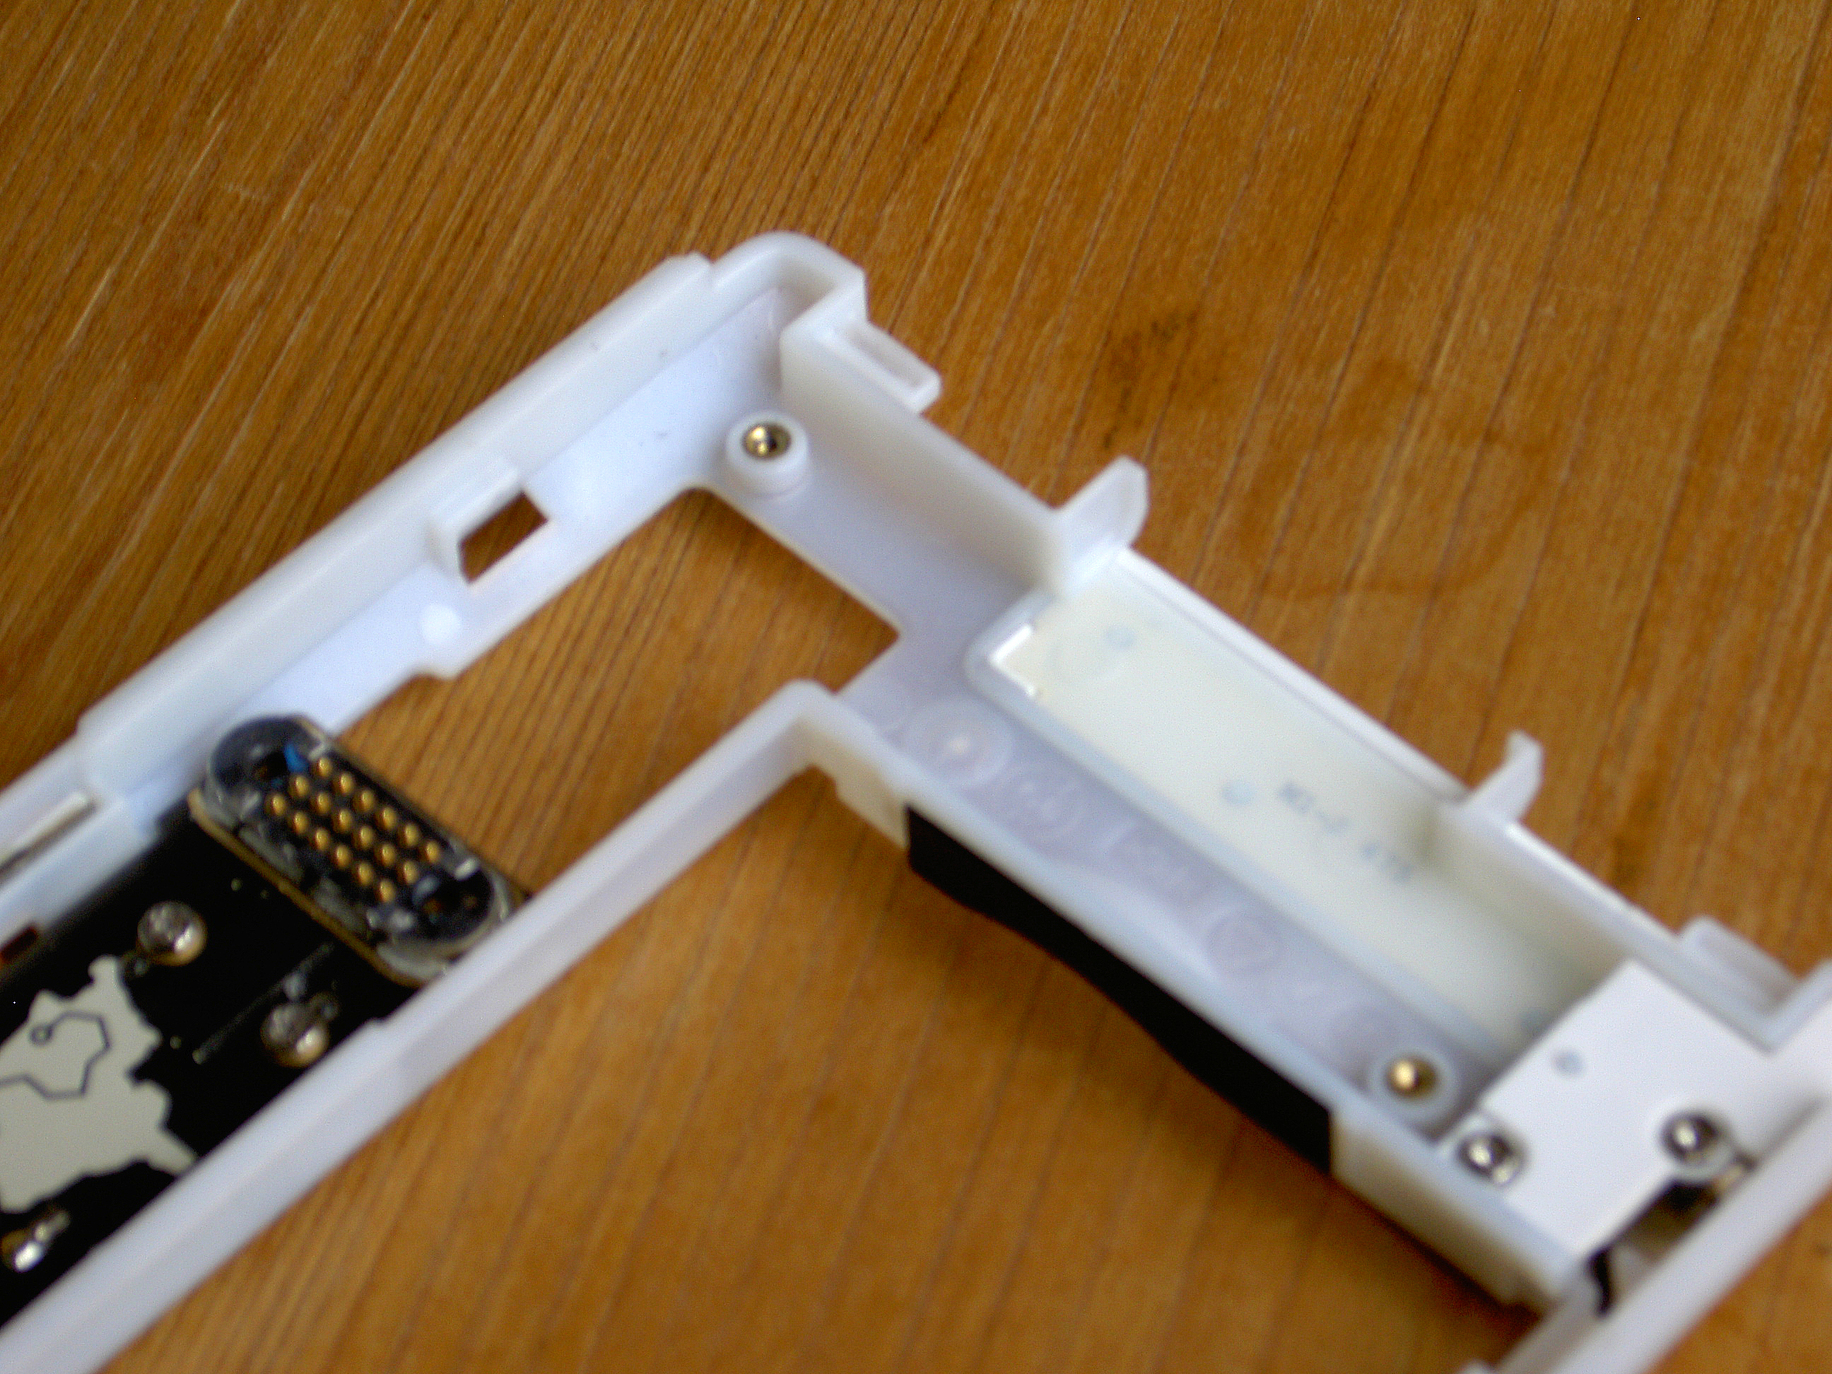
See photos below 
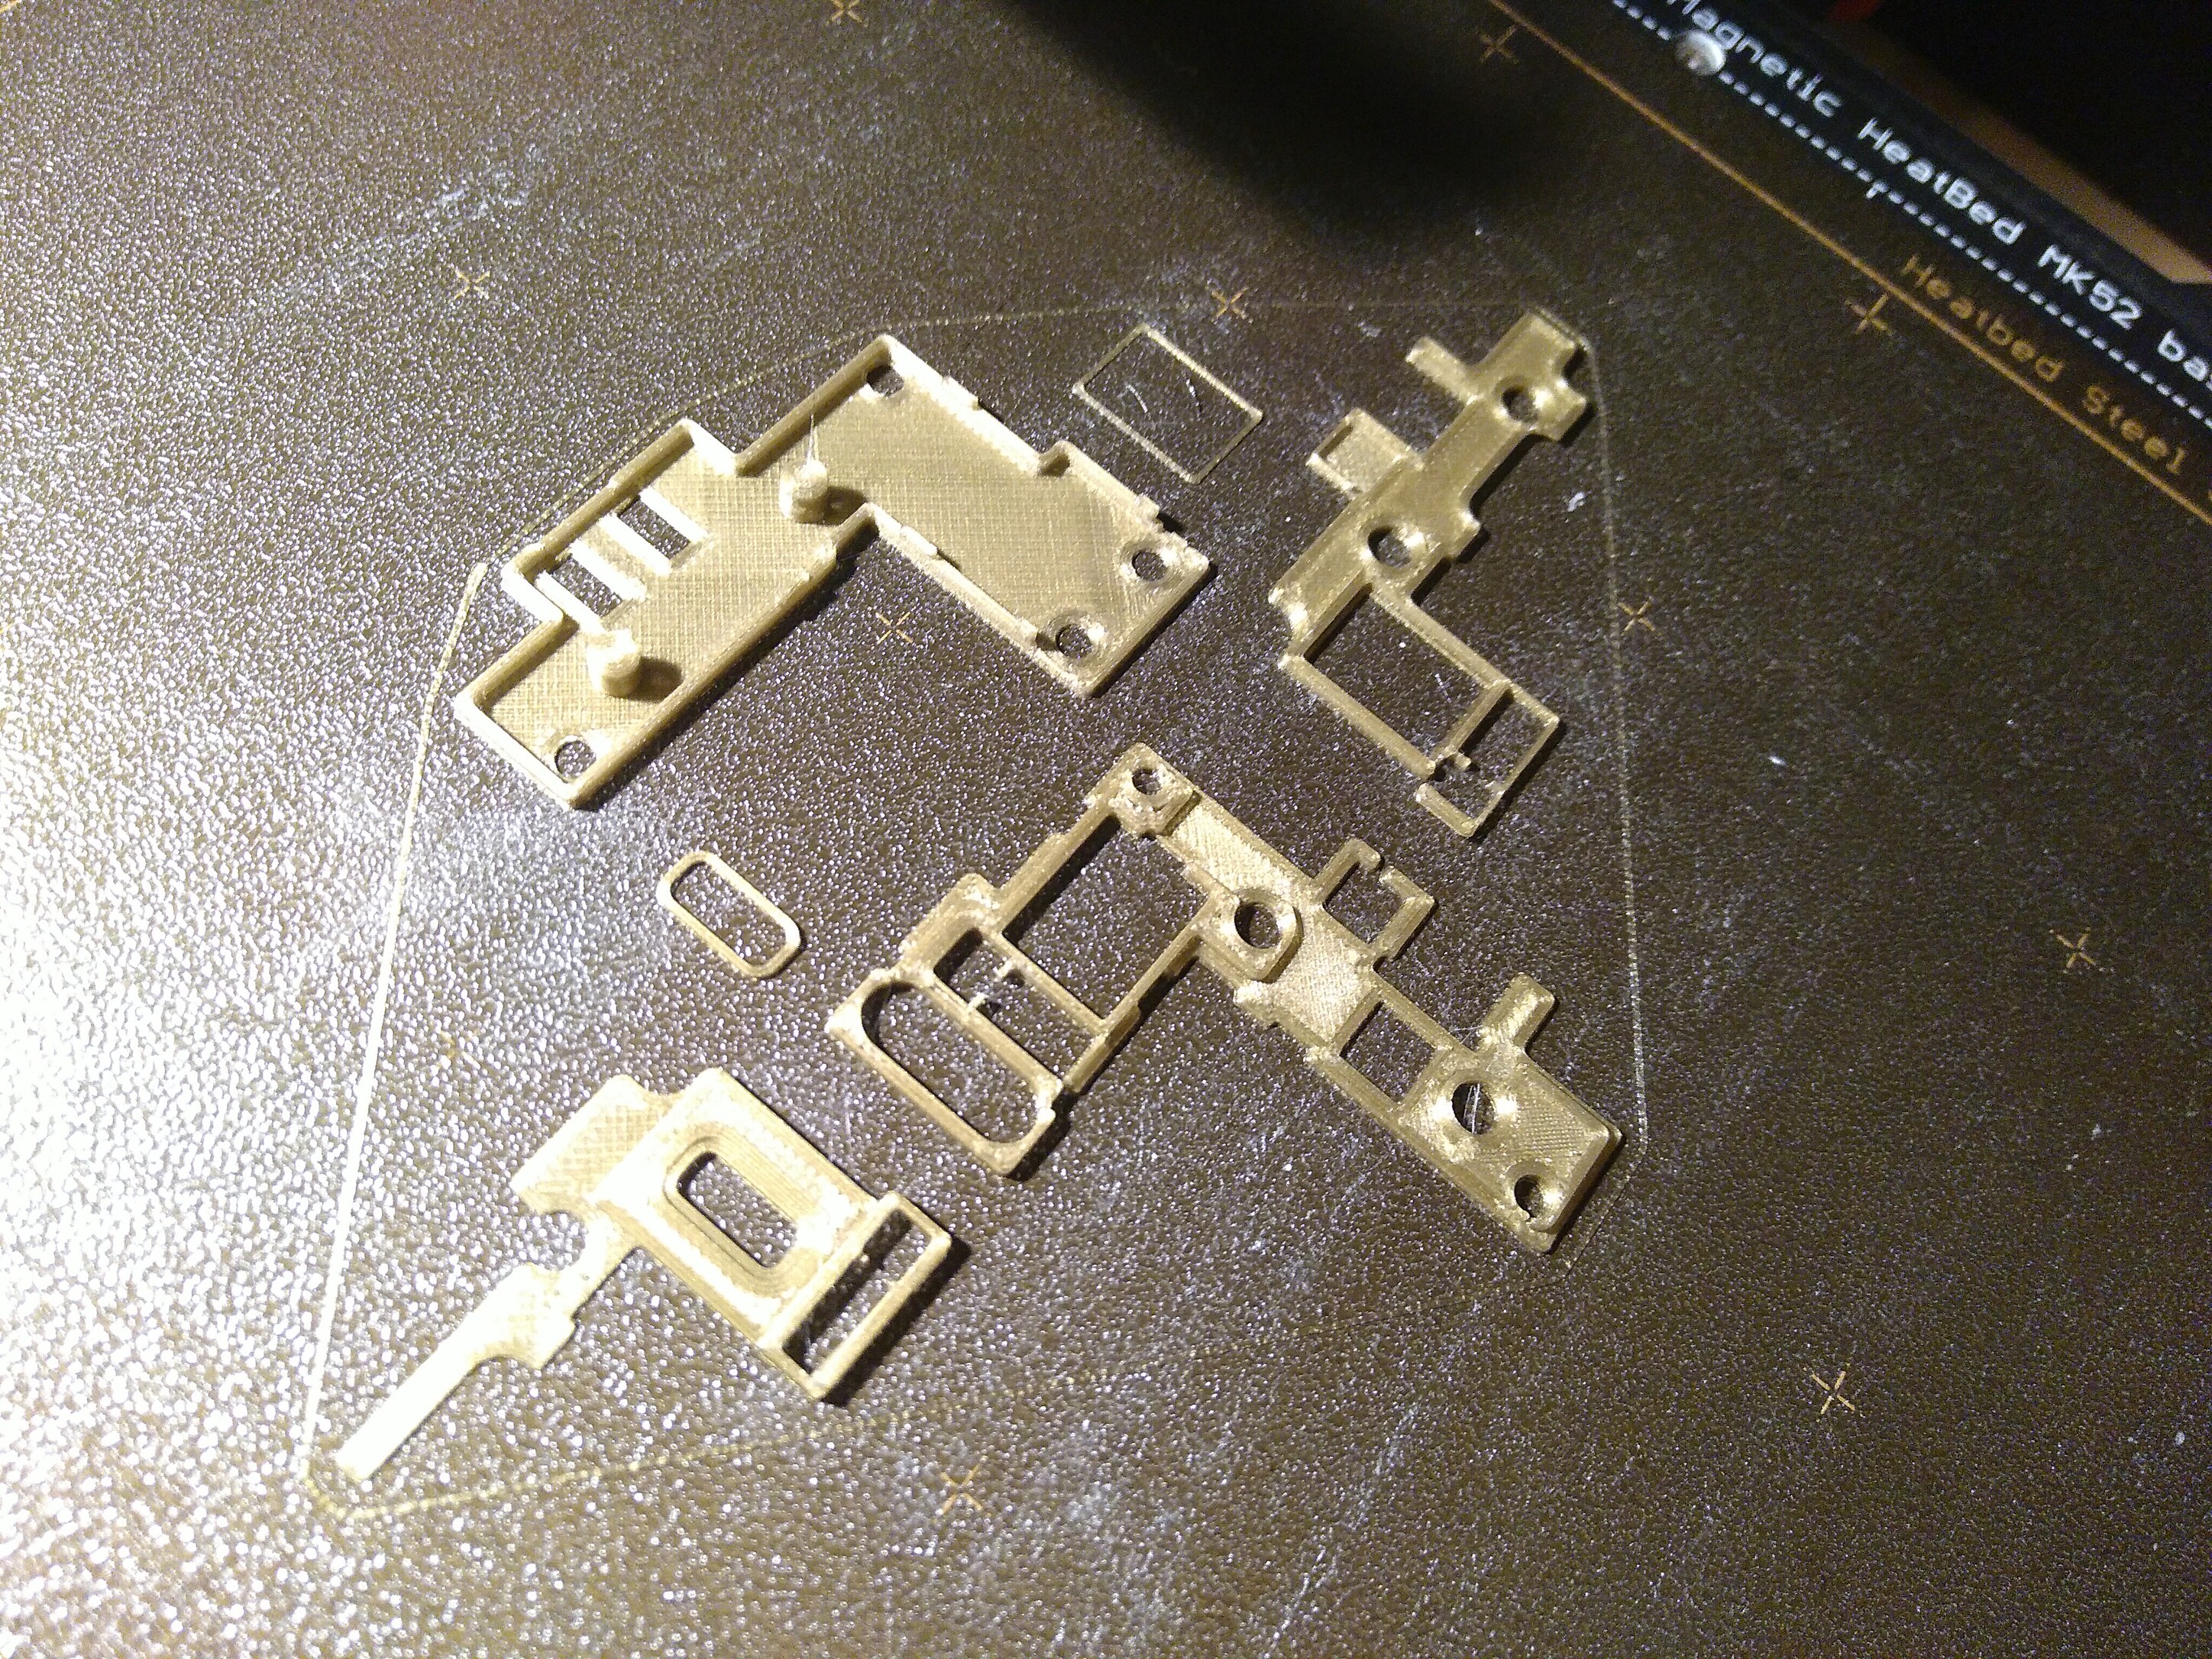
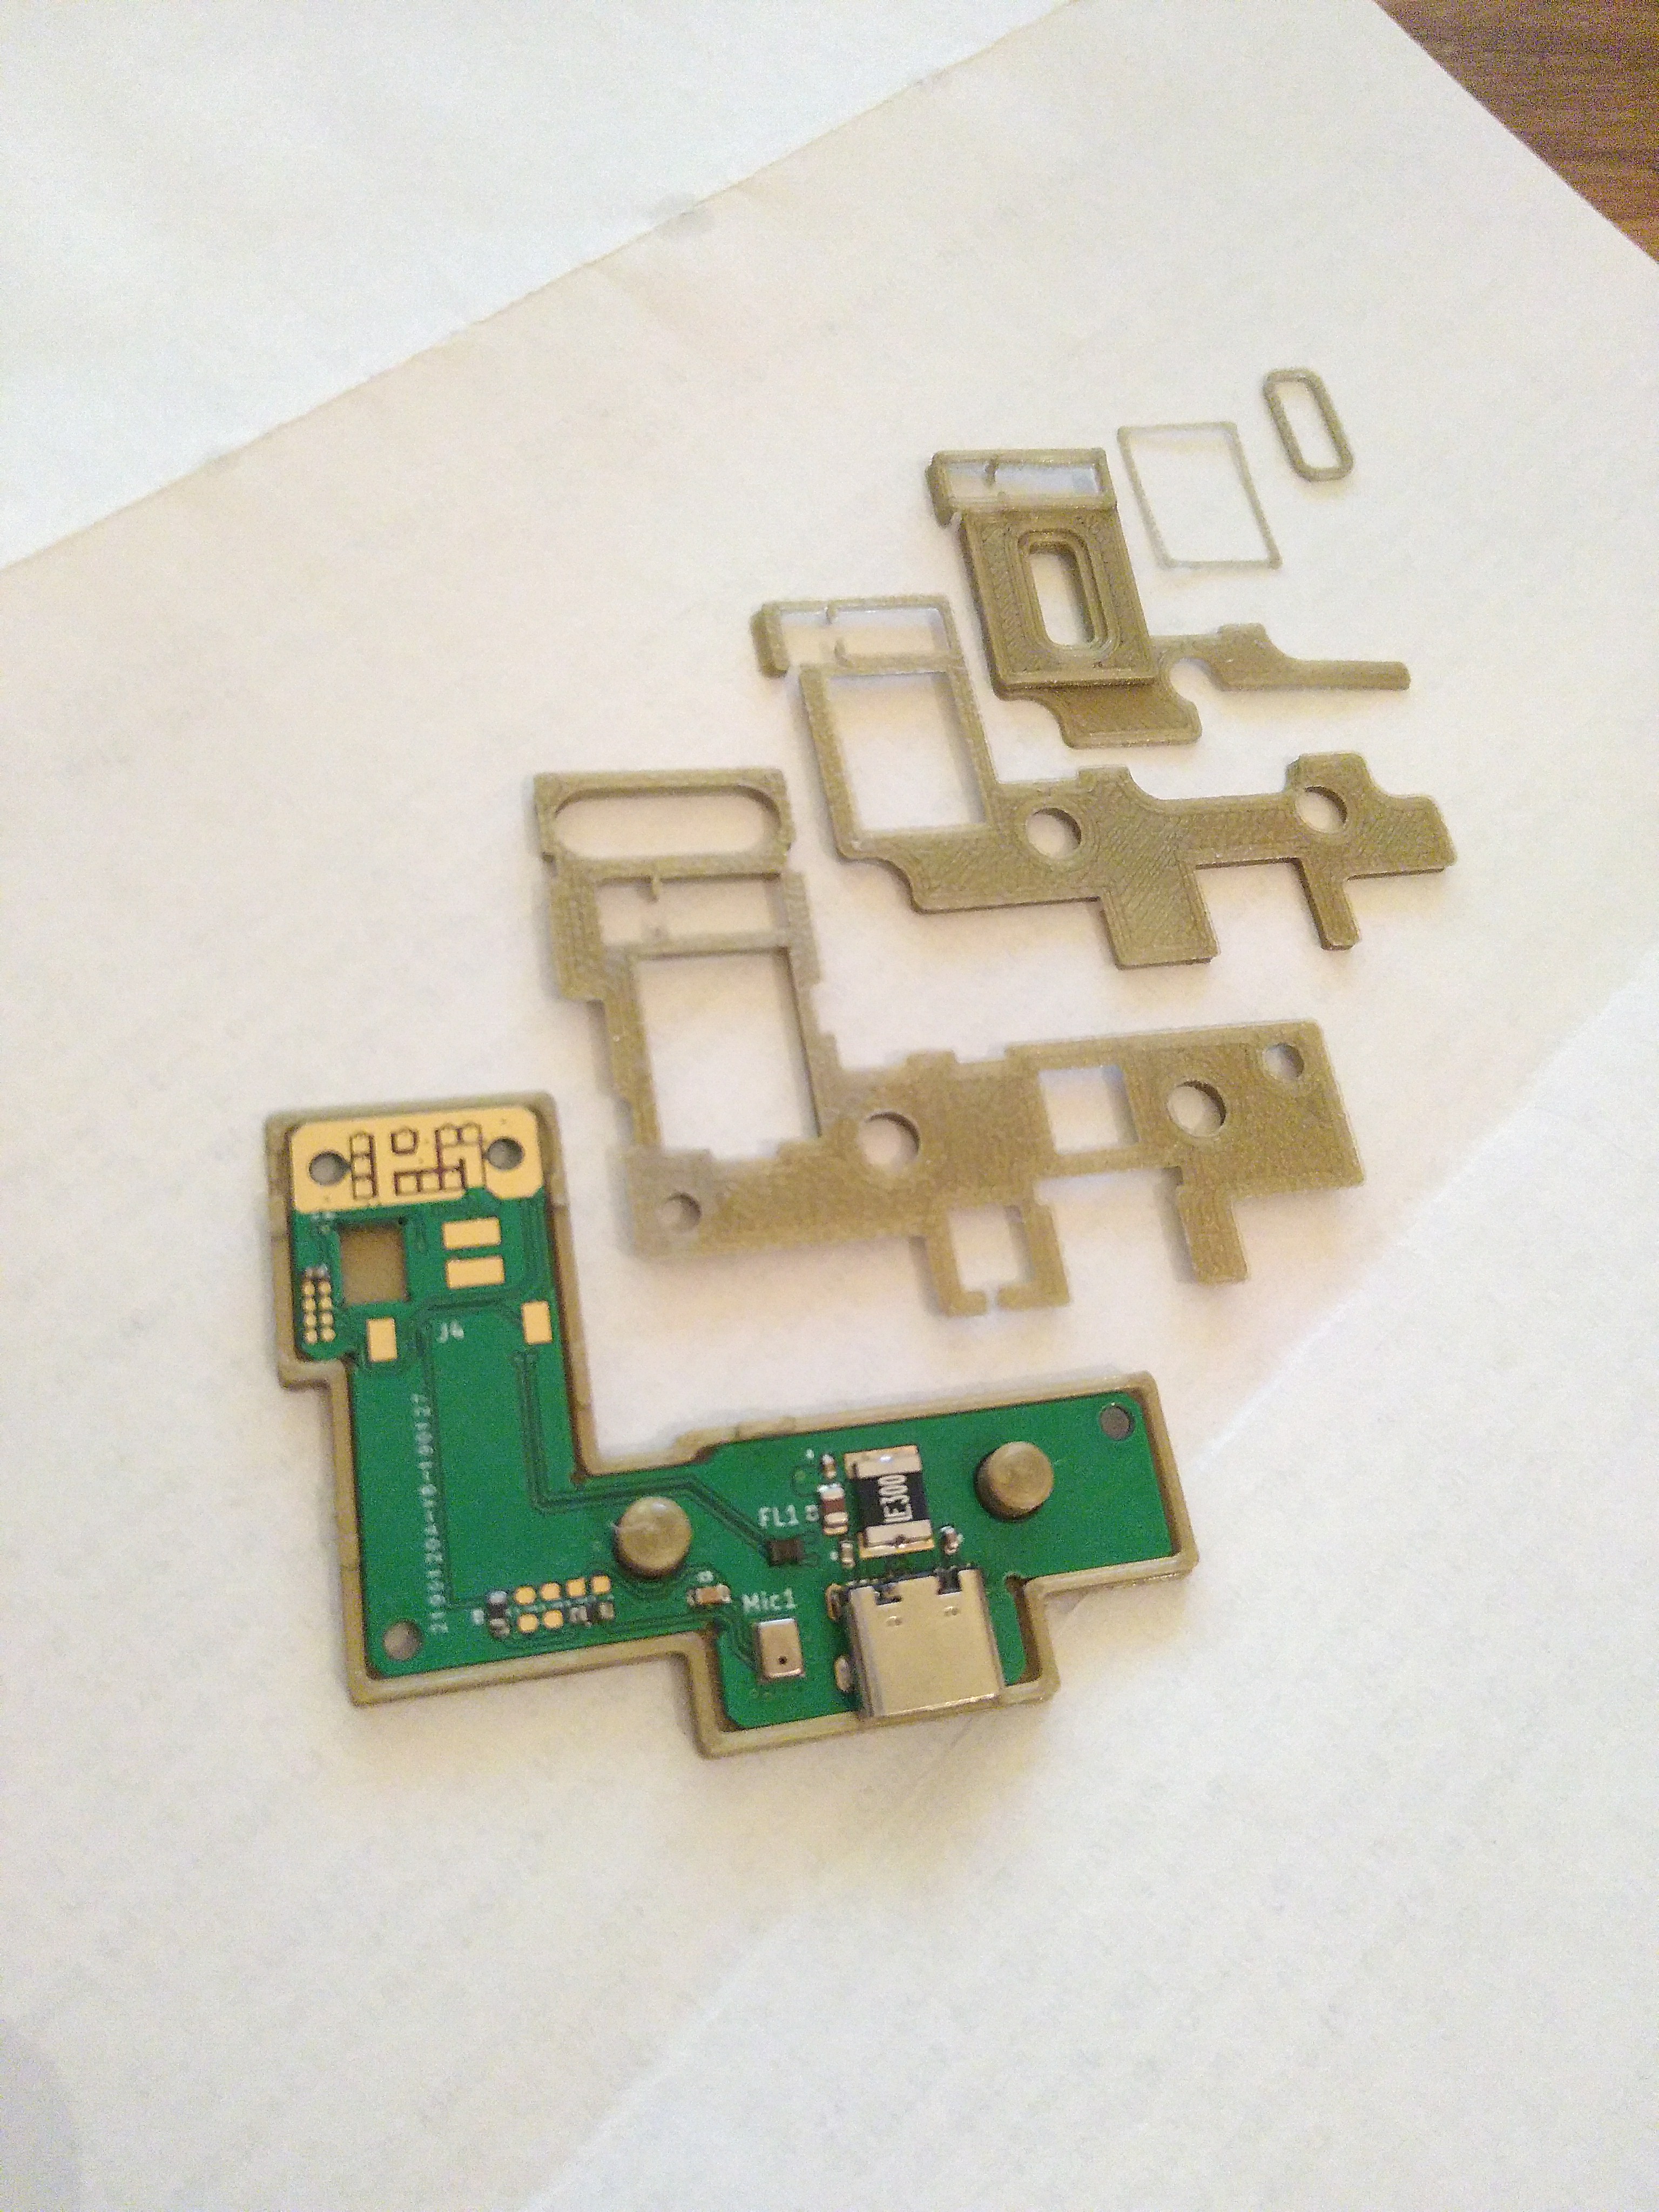
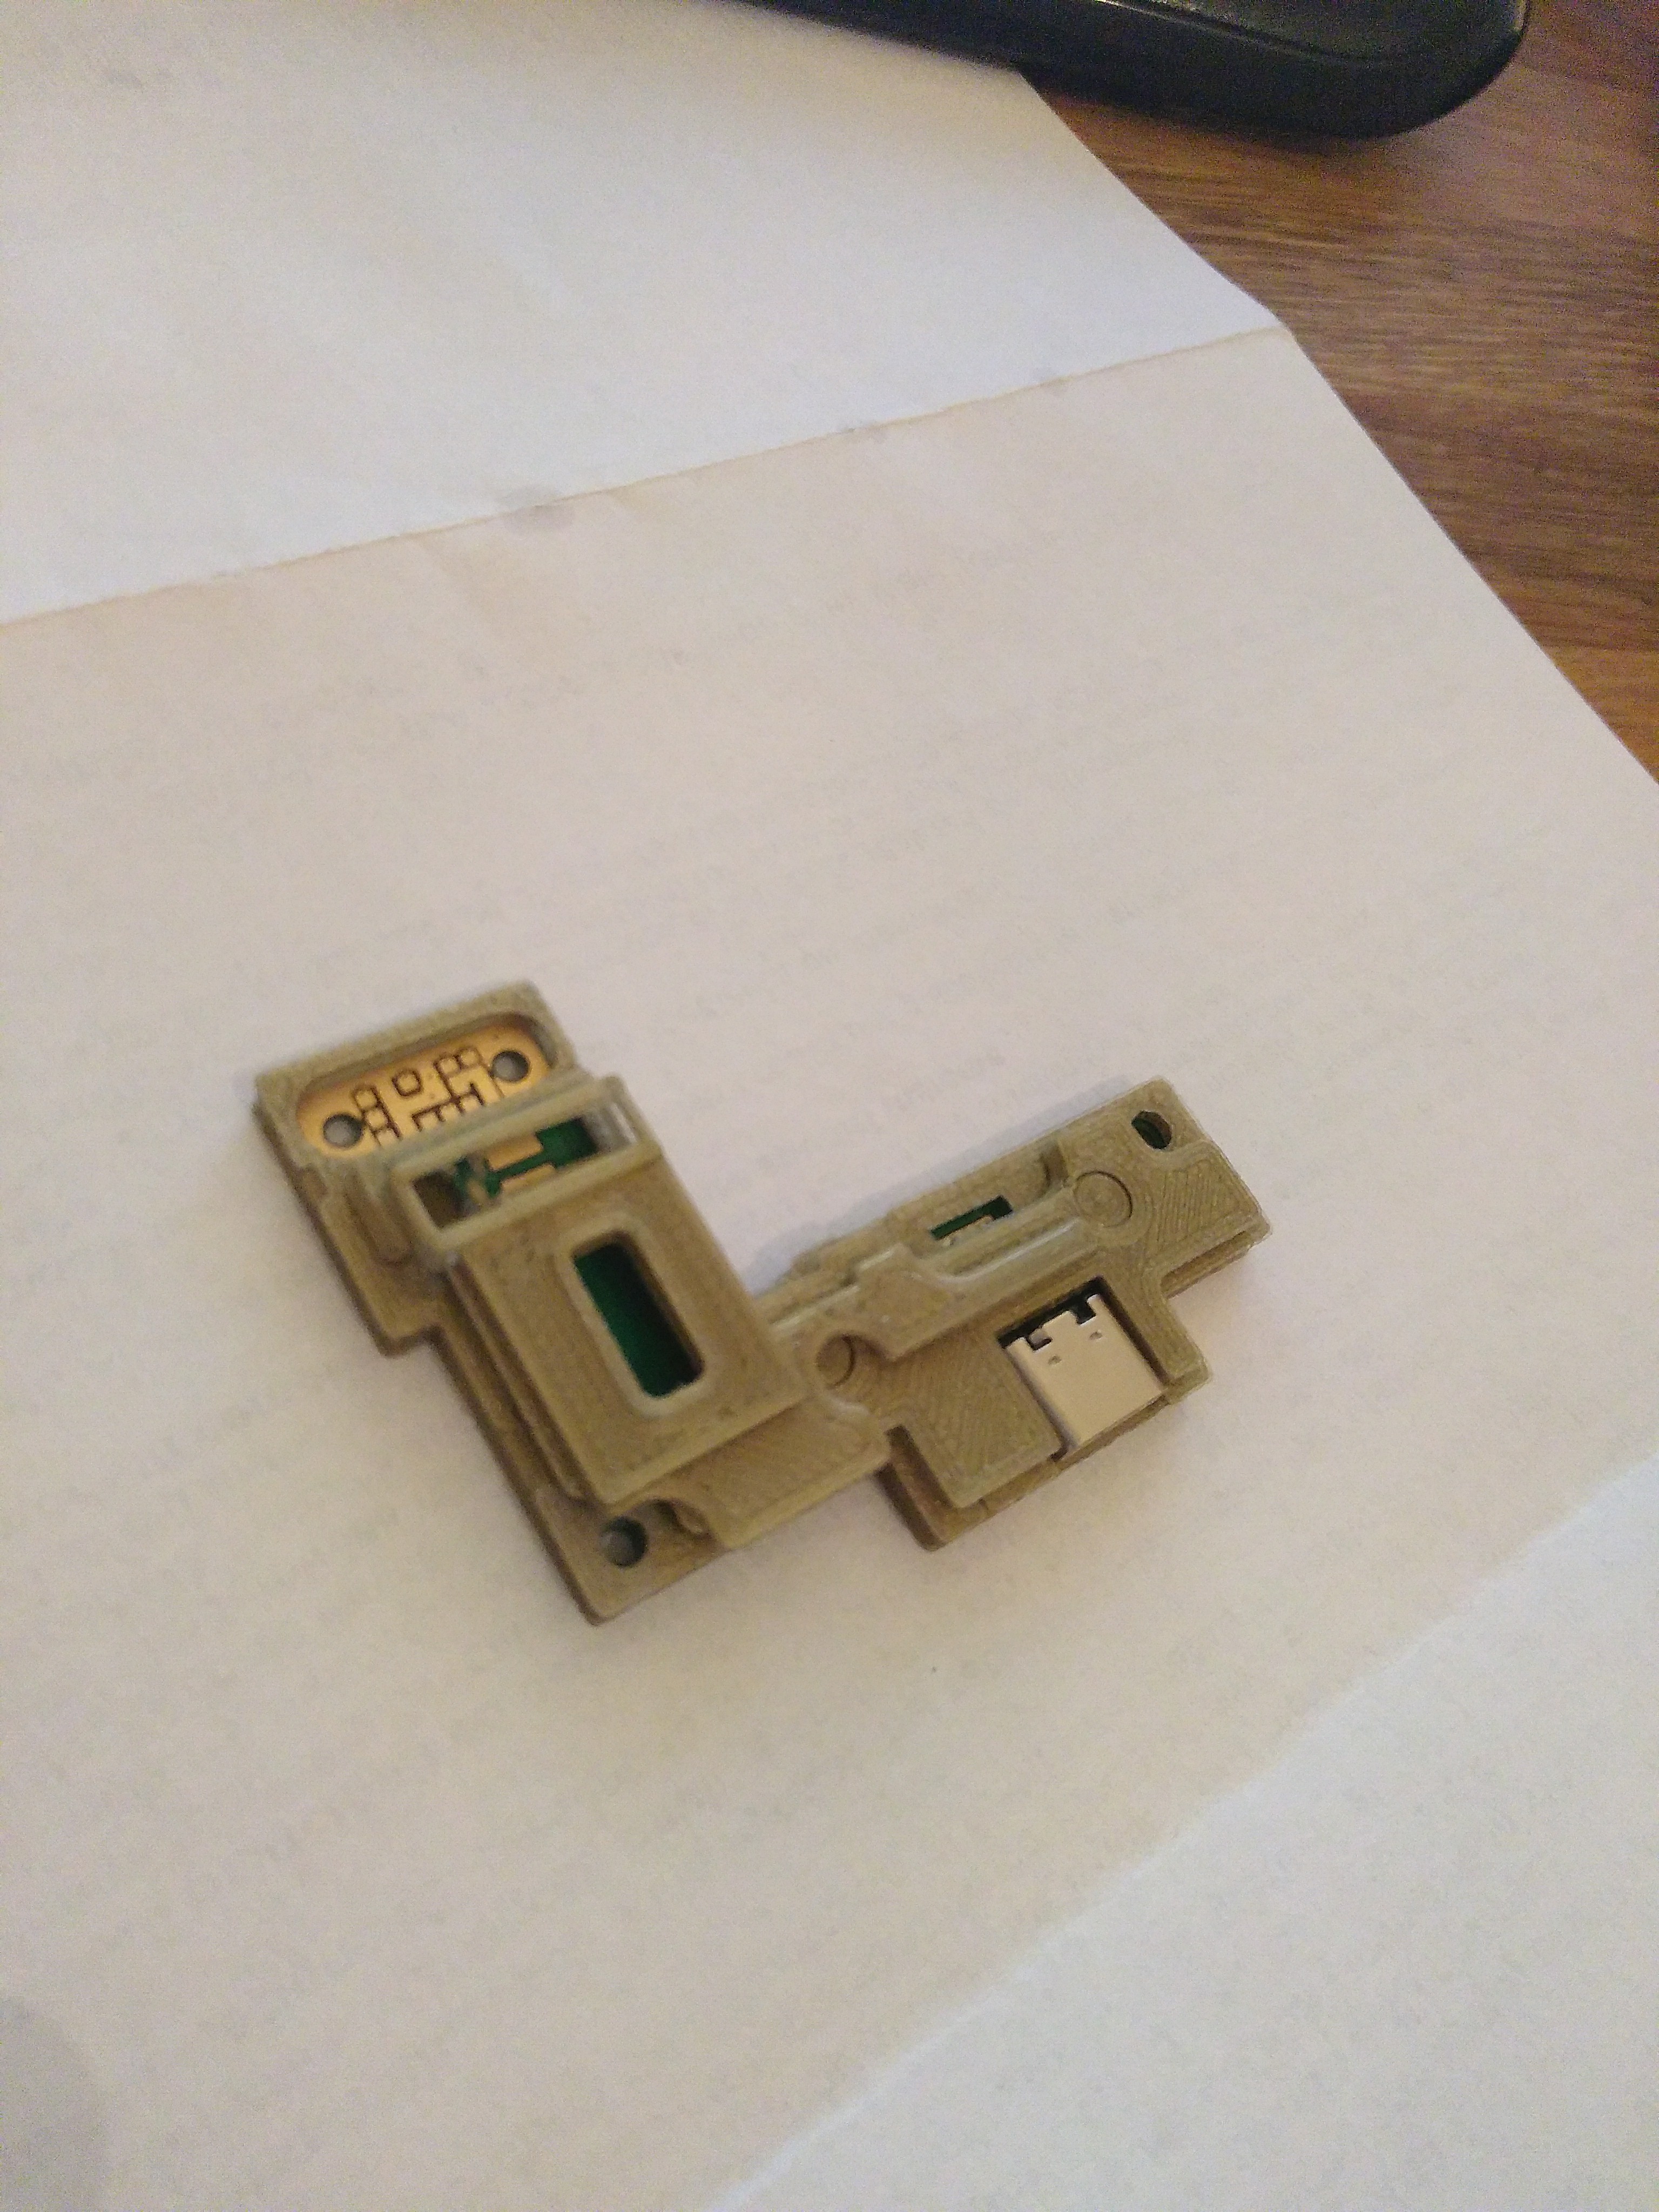

–Olivier
10 Likes
Your picture 4 is reversed.
1 Like
I also tried the USB-C module.
Standard iFixit set had the right screwdrivers.
I got the USB-C module to work. I got the speaker to work. Both worked perfectly fine. Case worked as well.
However not the mic and the vibration motor. I could live without the vibration motor, but without the mic I can’t pick up the phone when people call me.
Tried to swap components with another one of my modules (as I have two microUSB bottom modules, with one of the two a broken mic). Same problem.
Tried a replacement module, same problem.
It felt like we tried everything to get it fixed but we weren’t able to solve it. I send the modules back, and I got my money back. It cost us a lot of time and effort, but we tried. The problem might be related to having screwed it too tight the first try.
Anyway, I’m glad to read your success story 
3 Likes
That’s why it’s reversed ![]()
4 Likes

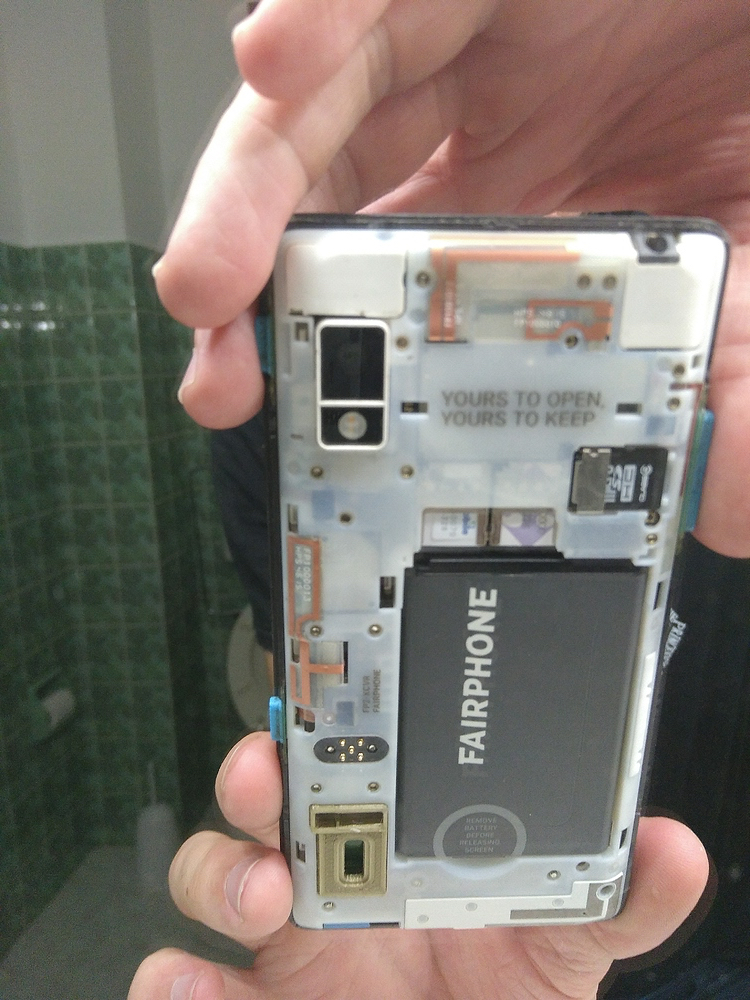
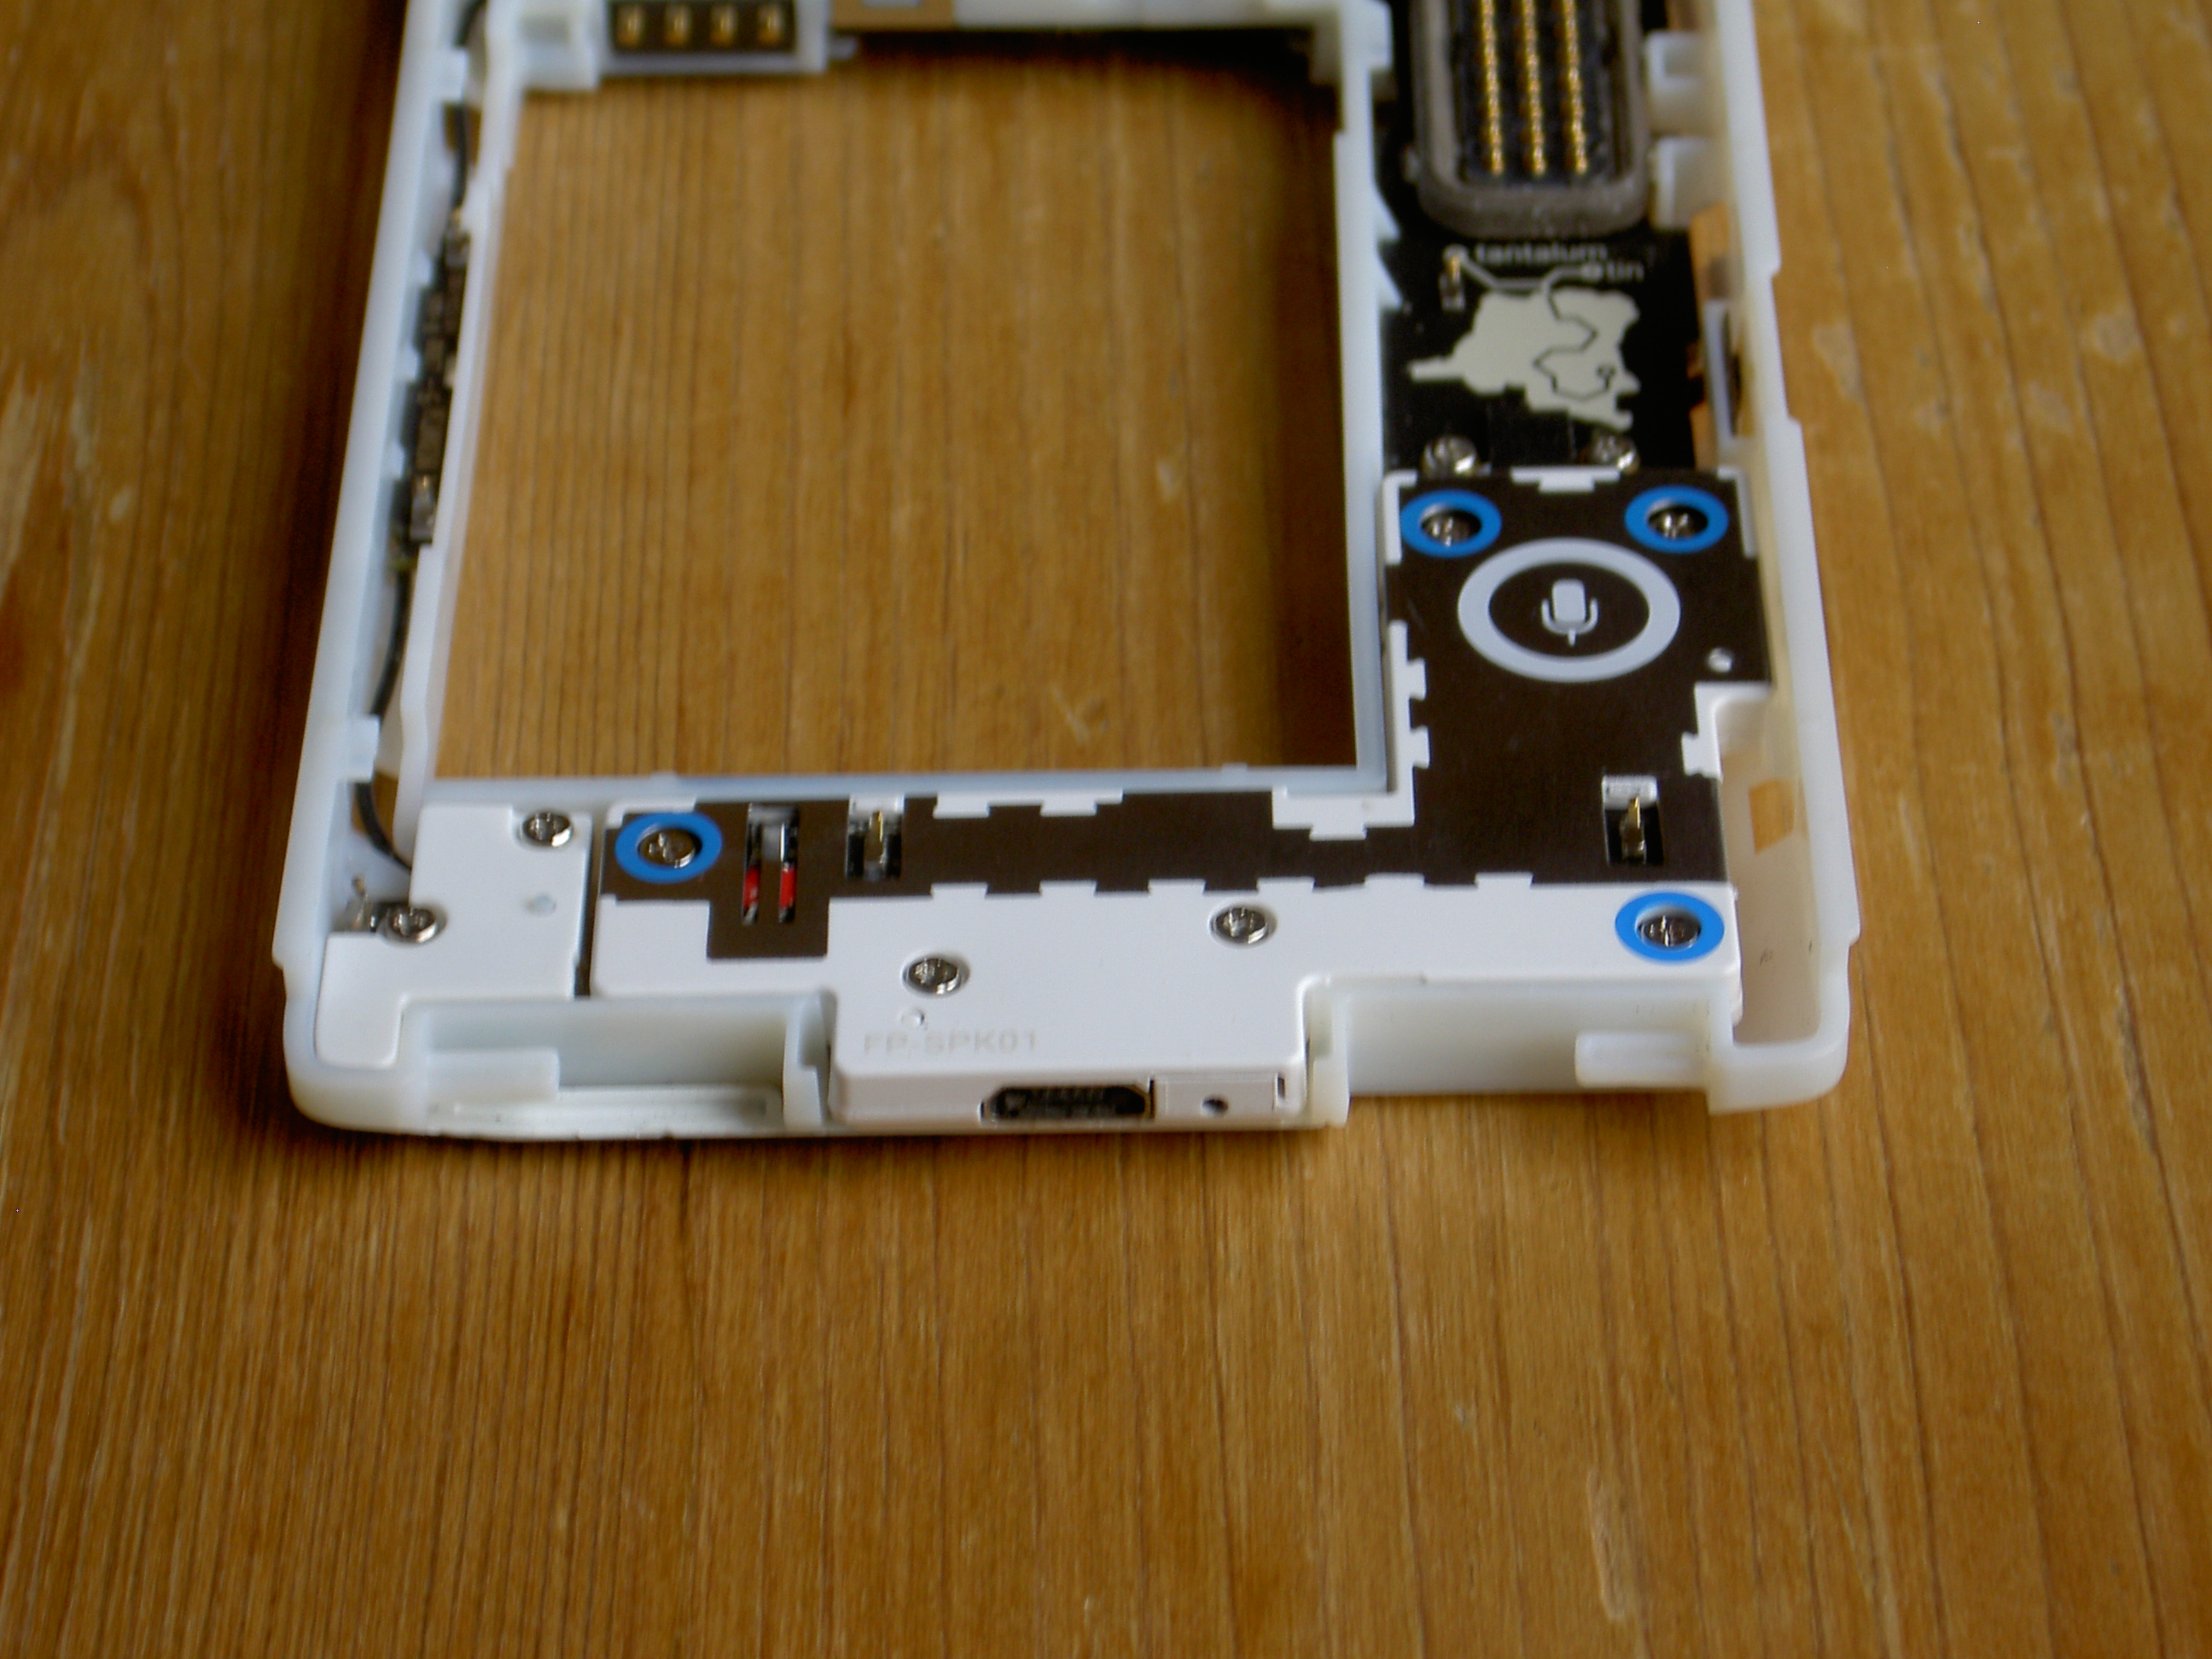
I need to get some informations from differnet FP owners.
If you could open you FP2, take out your bottom module and take a picture of the lower area, where the bottom module was, I make a new revision of the module and also do some minor changes to the PCB and I also want to change the housing a bit for stability reasons
3 Likes
I would like to test the new revision if you have it ready.
1 Like
I have a new revision of the housing already, but the new PCB will take at least 2 weeks if not more, because the shipping takes quite some time and I have to do a complete redesign. I will also now implement better filtering and a new connector. I already have the connectors and they are great. They are expensive (3x compared to the old ones), but they’ll be worth every cent
7 Likes
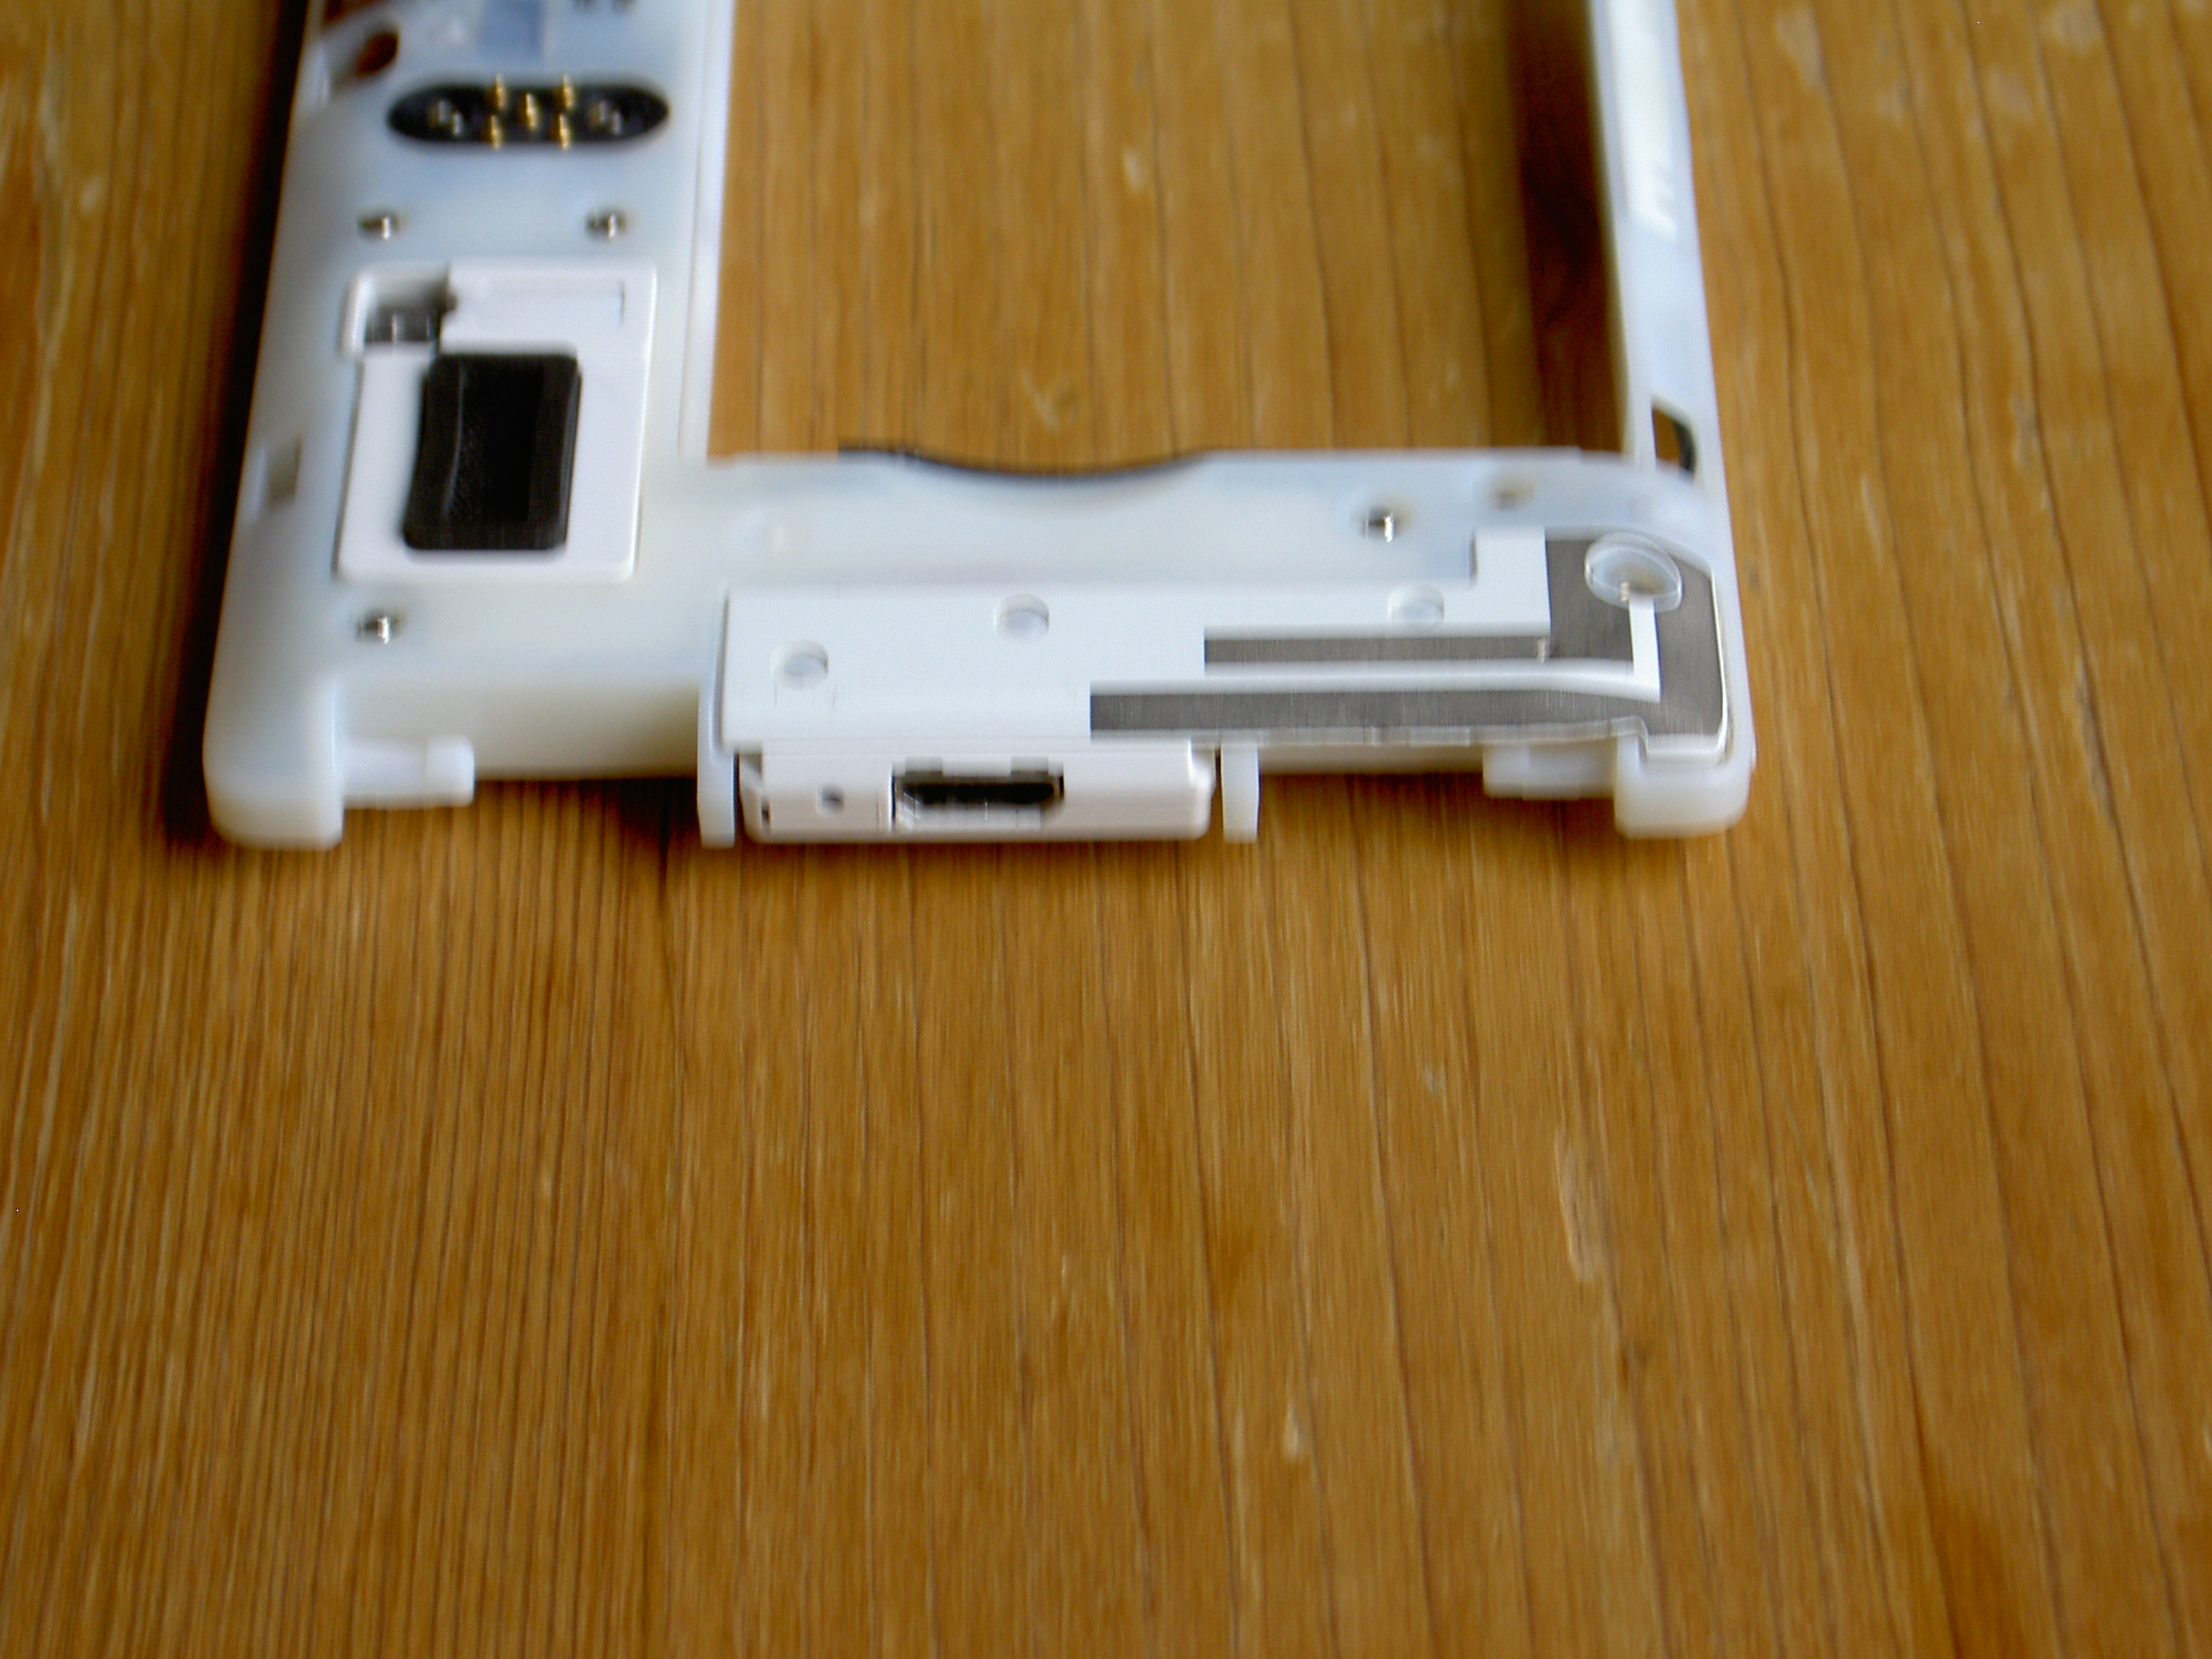
Sorry for the lack of sharpness, I might take a new shot if you can specify what you are primarily interested in to see.
2 Likes
Can you pop in a module and send another picure ?
Put the bottom module back in? Or bottom module on its own outside?
Yes, I’m interested in how it fits (the original).
It seems to be different from my FP as I have one of the first batch
Thx, I might get it to fit thinghter now, putting less strain on the connector making it last longer.
Btw. currently designing the new PCB
6 Likes
I’m still interested to test it! ![]()
2 Likes